Page History
| Created | Updated | Affects version | Fix version |
|---|---|---|---|
| 03 Apr | Management Portal Blancco Cloud | N/A |
...
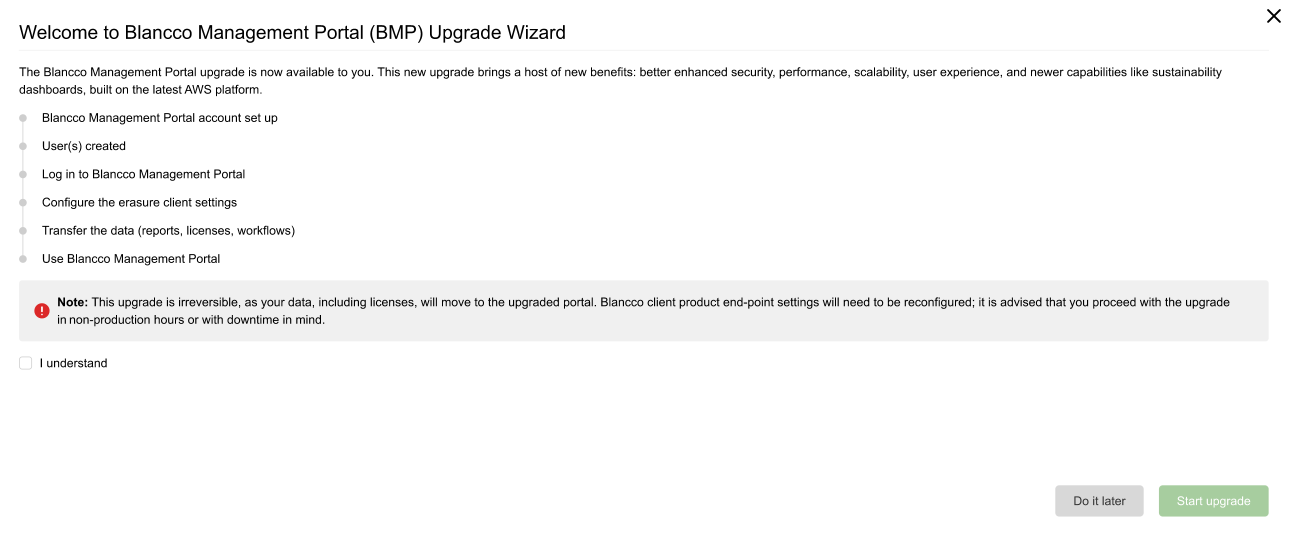
- Initially you will see "Welcome to Blancco Management Portal (BMP) Upgrade Wizard" page. This page will list the different steps you need to complete as part of the upgrade. In order to continue "I understand" checkbox needs to be selected.
- "Set up Blancco Management Portal Account". During this step you will define the user accounts you want to copy over automatically from your existing Blancco Cloud group(s). Select preferred options and check "I understand that the user hierarchy will change" to proceed.
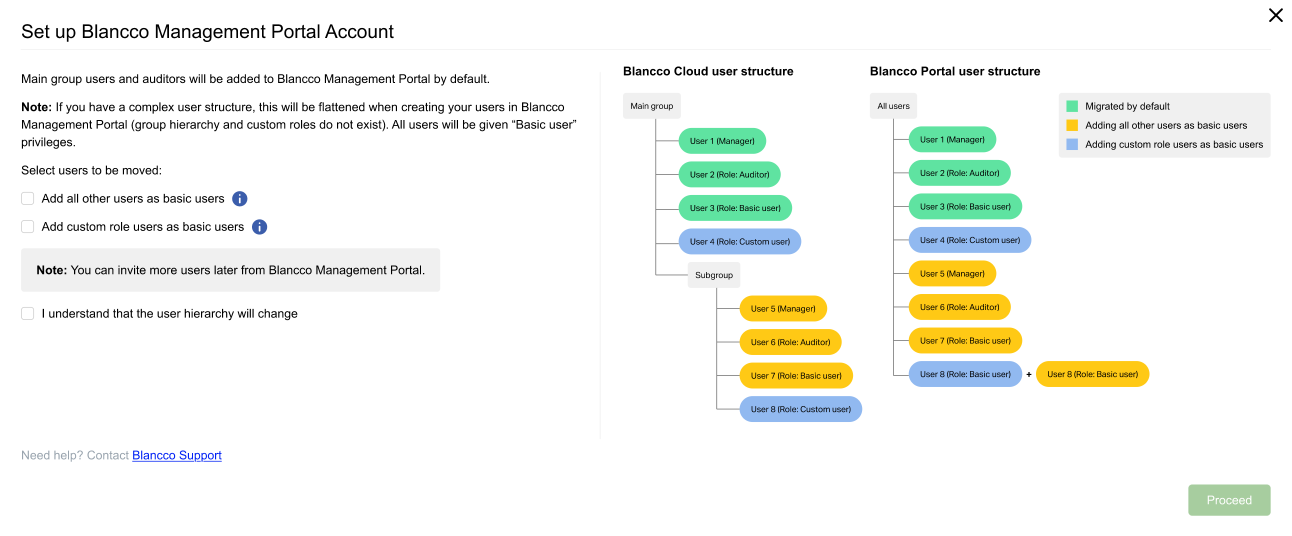
- By default (none of the available checkboxes selected) all manager, basic user and auditor users from your main group will be included. These users are indicated by the green color in the example structure included in the page.
- When "Add all other users as basic users" is selected any user with manager, basic user or auditor role located in any sub-group will be included in addition to the users in the main group. These users are indicated by the yellow color in the example structure included in the page.
- When "Add custom role users as basic users" is selected any user with a custom role will be included in addition to other selected users. These users are indicated by the blue color in the example structure included in the page. Note that "Add all other users as basic users" will need to selected as well if you have users with custom roles in any sub-group and you want to include these users as part of the upgrade. This is presented as the user 8 in the example structure (requires both options to be checked in order to included).
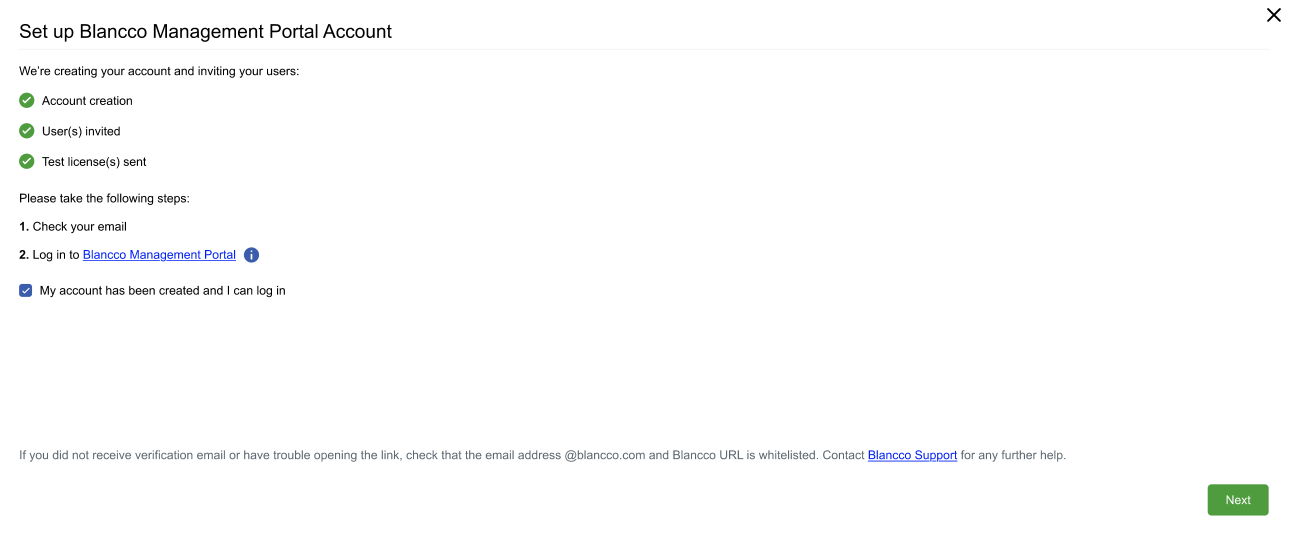
- An account will be created, defined users invited to the system and test licenses will be added to your new Management Portal account. Depending on the number of users this might take a few minutes.
- After successfully creating the account and the users you are required to validate your newly created Management Portal account and login. In order to validate your account follow instructions on the separate email you receive directly from Management Portal. Once you have managed to complete the sign up and login to Management Portal select "My account has been created and I can log in" and then click "Next".
"Configure erasure client settings" page provides you with the new communication settings you will need to use in order to consume licenses/send reports to Management Portal. After you have tested the communication works with the updated settings check the "I can confirm..." checkbox and select "Next".
- If you have been using Blancco Cloud API, review the updated Blancco Management Portal API endpoints and plan the required changes.
- Detailed API guide is available on Blancco Management Portal under the "Support" tab.
- Additional Knowledge base content available in Management Portal - API page.
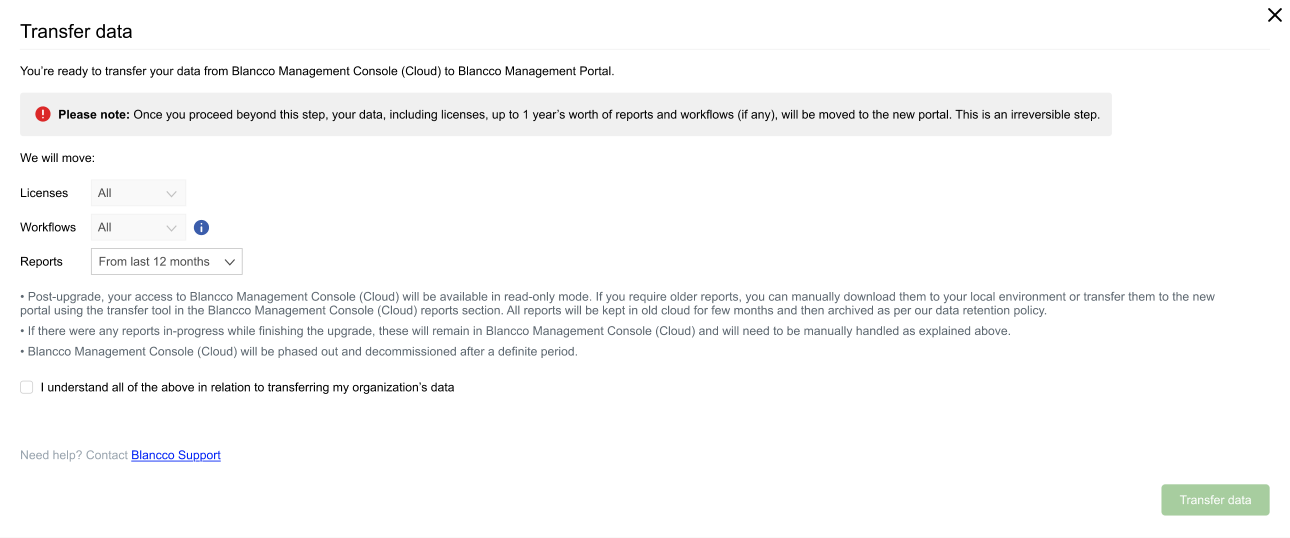
"Transfer data" allows you to define the data copied over as part of the process, by default all licenses and workflows are included and user cannot edit these options. If you want copy over existing reports you can select either last 6/12 months worth of reports. If you need older reports to be available on the Management Portal, they need to be transferred over manually.
Warningnote After you confirm and click "Transfer data" your data will be copied over and your existing Blancco Cloud account will go into a read only mode and you cannot consume licenses from Blancco Cloud anymore.
Any further erasures will need to be carried out using Management Portal instead.
Warning NOTE! API endpoints between Blancco Cloud and Blancco Management Portal are different and not backwards compatible!
If you are integrated with any Blancco Cloud API endpoint you will need to make sure any integration is updated to utilize Blancco Management Portal API endpoints when the "Transfer data" step is run!
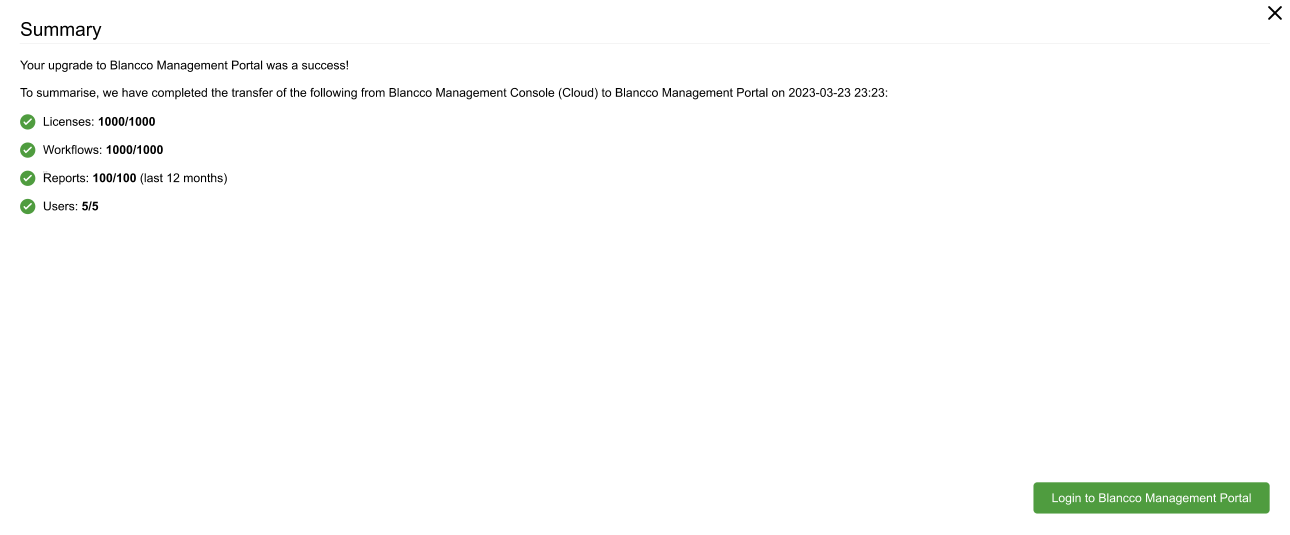
- "Summary" page will appear once the data migration process is completed and you will be presented with the results of the data migration. If there are any issues or errors reported during this stage, please contact Blancco Technical Support for further assistance.
...