Page History
...
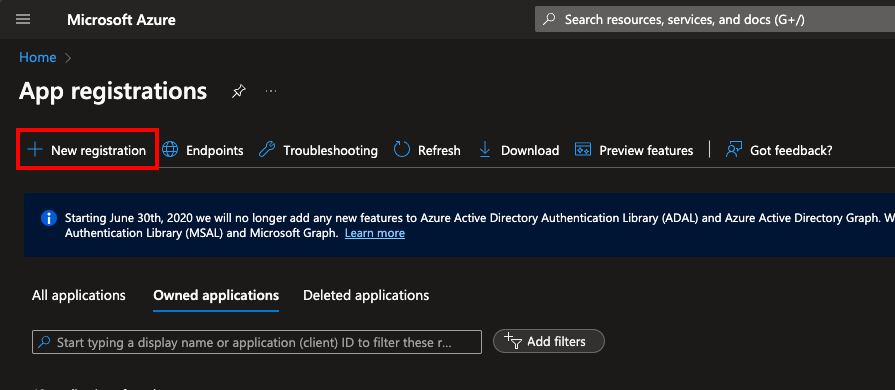
- Register a new application in by navigating to "App registrations" and then selecting "New registration".
Fill in the name and select appropriate account type, in this example single tenant option is selected. Set the "Redirect URI", use the Single Sign-On URL available in BMP SSO settings as the redirect URI.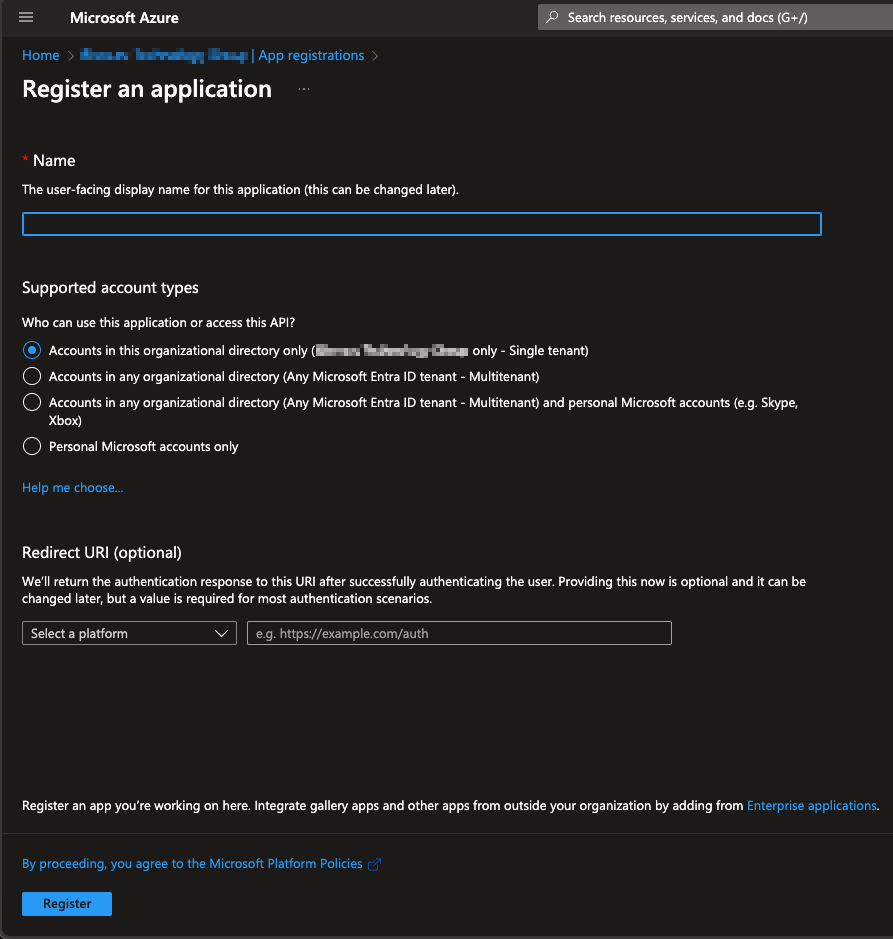
- After registering the app copy "Application (client) ID" from the app to the BMP SSO settings "Client ID" field.
- Navigate to "Certificates & secrets" to generate new client secret by selecting "New client secret" under the "Client secrets" -tab.
- Define description and expiration for the secret and click "Add".
After creating a new secret copy secret's value and enter it as the "Client secret" in BMP SSO settings.
Info Note that the secret value is only shown right after creating the a secret. If the value is already hidden and wasn't copied over a new secret needs to be created.
- Navigate to "API permissions" and grant admin consent for the "User.Read" API/Permission. This enables the system to check required user attributes need for the SSO authentication.
- Navigate to "Authentication" and make sure "Redirect URIs" is configured. If this was already configured when creating new app registration, this step can be ignored.
- Use the Single Sign-On URL available in BMP SSO settings as the redirect URI.
- Acquire "Issuer URL" from the "OpenID Connect metadata document".
- Open the document and locate "issuer" field from the document and copy the value to "Issuer URL" field in BMP SSO settings.
...