Page History
This article describes how to update your Blancco Management Console environment from Oracle Java to OpenJDK.
...
to utilize OpenJDK instead of Oracle Java.
| Info |
|---|
Compatibility between OpenJDK and Blancco products is explained here: JAVA and OpenJDK version compatibilty with Blancco Management Console If you have Blancco Management Console and Drive Eraser Configuration Tool installed on the same server, OpenJDK version 8 is required. |
Uninstalling existing (Oracle) Java
- Stop Blancco Management Console service
- Uninstall Oracle Java any existing Java version(s) from the machine
- Restart the machine
- Check that Java was successfully uninstalled
- Open Command Prompt
- Type java -version to check the currently installed version of Java. If no Java is installed you should see below error message

Installing OpenJDK
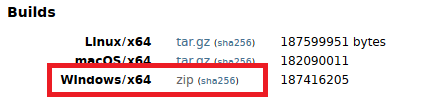
- Download the latest version of OpenJDK from https://jdk.java.net/11/
- Select "Windows/x64" to download the zip file
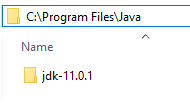
- Extract the zip file to a location where you want to install the OpenJDK (for in this example C:\Program Files\Java\jdk-11.0.1). Note that on your installation the version number of OpenJDK (in the name of the directory) may vary and you need to use the details specific to your installation.
- Verify that
...
Creating "JAVA_HOME" System Variable
- Navigate to Control Panel > System and Security > System
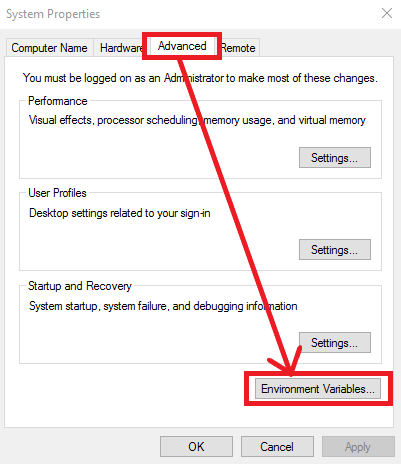
- Select "Advanced System Settings" from the left panel
- Open Environment Variables by going to "Advanced"-tab and then click "Environment Variables"
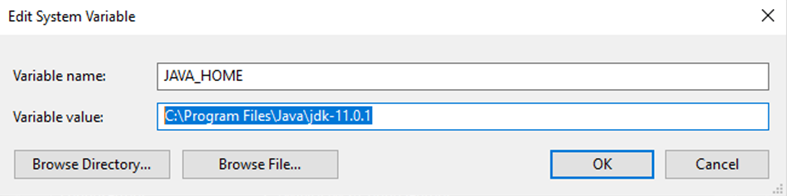
- Under the "System Variables select "New"
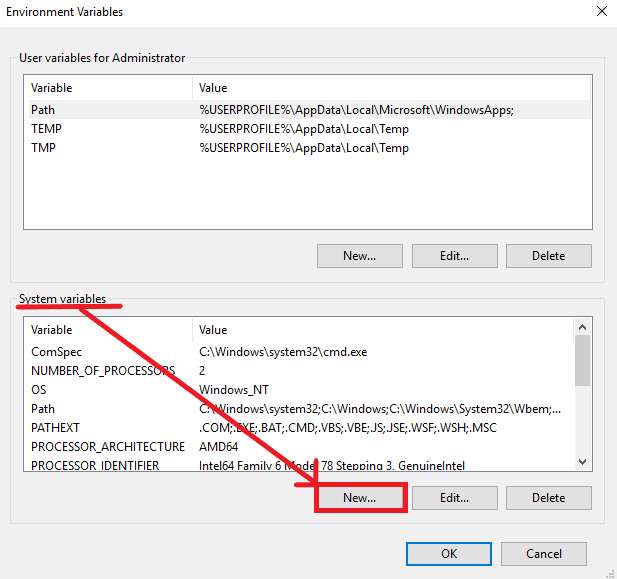
- Name the new variable as "JAVA_HOME" (without quotation marks). Variable value should point to the directory where the OpenJDK zip file was extracted (in this example C:\Program Files\Java\jdk-11.0.1\)
Updating the "Path" system variable
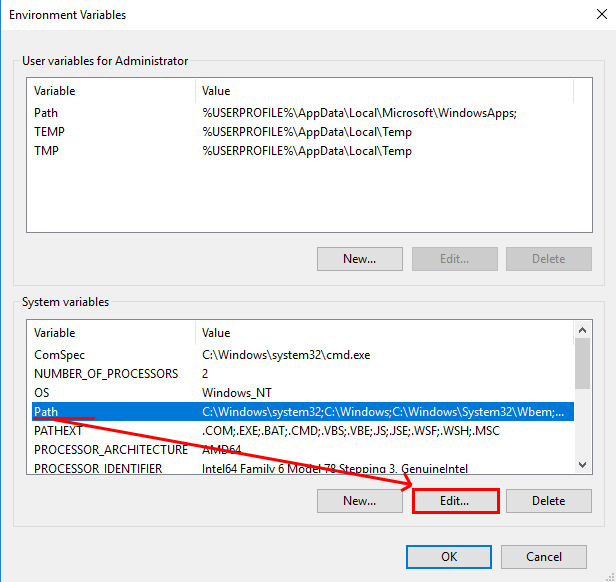
- Under the "Environment Variables" > "System variables" look for existing variable named as "Path"
- Select it and click "Edit..."
- Add the location of the bin folder of the OpenJDK installation to the PATH variable.
- For example if OpenJDK was extracted to C:\Program Files\Java\jdk-11.0.1, the path entry would be C:\Program Files\Java\jdk-11.0.1\bin

- Click "OK" to save the changes.
Verifying the installation
After creating/updating the corresponding system variables, restart the machine and check that OpenJDK is recognized by the machine.
- Open command prompt and run "java -version"

- You should see it pointing to the OpenJDK and also see the version information of the OpenJDK
- In case of any error messages, double check that the system variables have been set correctly