| Created date | Updated date | Affects version | Fix version |
|---|---|---|---|
|
| File Eraser - Data Center Edition File Eraser - Enterprise Edition | N/A |
Description
It is possible for Blancco File Eraser to execute a scheduled erasures based on an trigger or an event (such as date, system startup, user logon).
For example, user can create a scheduled task to erase the content of recycle bin when the system is started. After creating such task, every time the computer is started the content of the Recycle bin will get erased.
As Windows Task Scheduler is being utilized to enable the scheduled/customized erasure, the erasure can be triggered based on multiple different conditions based on your requirements. A simplified example is provided below which allows automated erasure for the contents of the Documents folder for files older than 30 days.
Blancco File Eraser user manual should be referenced to see all the available erasure options when creating scheduled tasks.
Step by step instructions
Note! When using the Windows Task Scheduling it is important to choose or create an user account that has full user rights to the files that will be selected for erasure.
Follow the below steps to create a customized erasure tasks using Windows Task Scheduler:
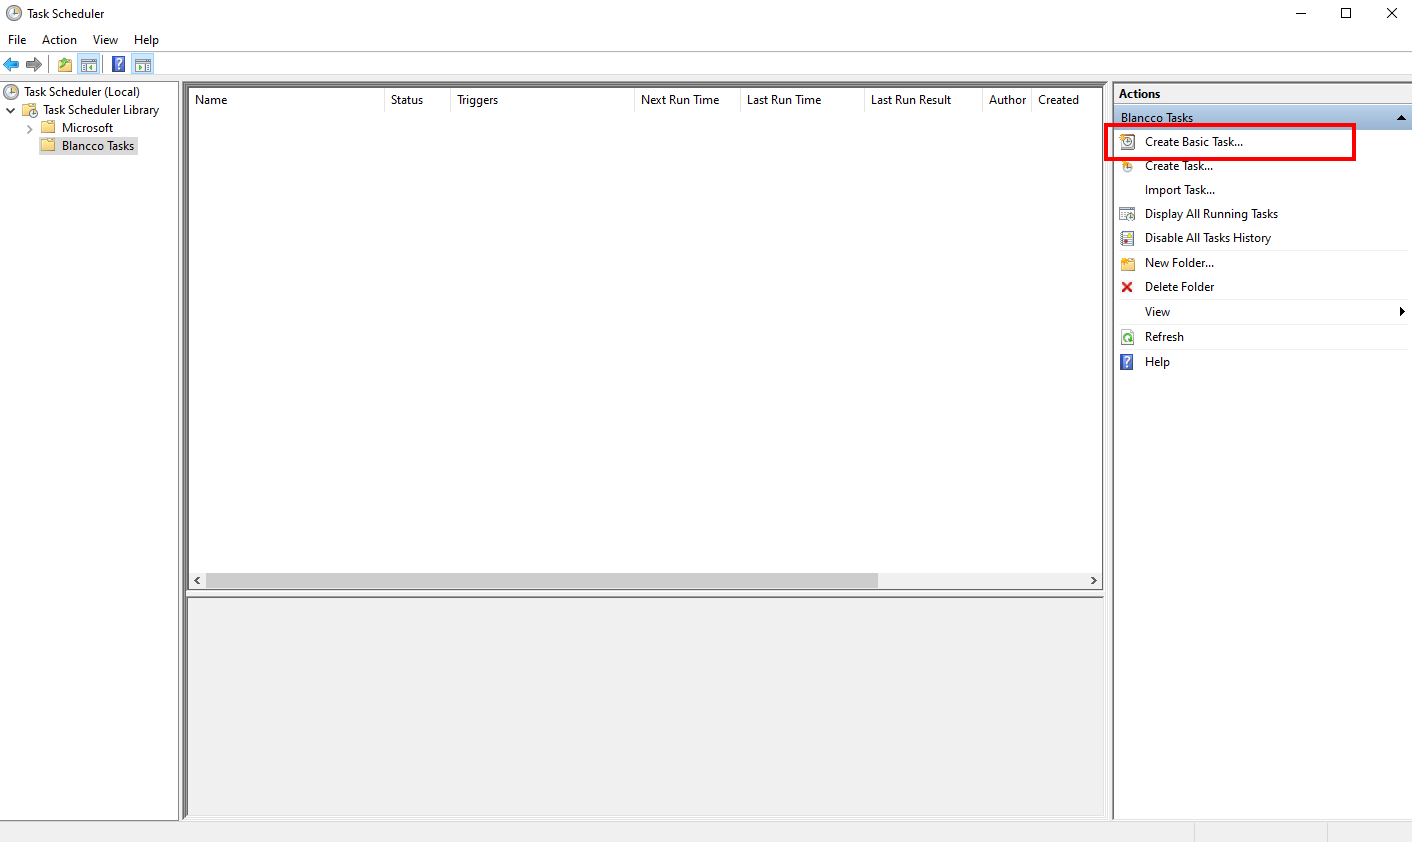
- Open Task Scheduler and select.
- Select "Create Basic Task" from the Actions menu.
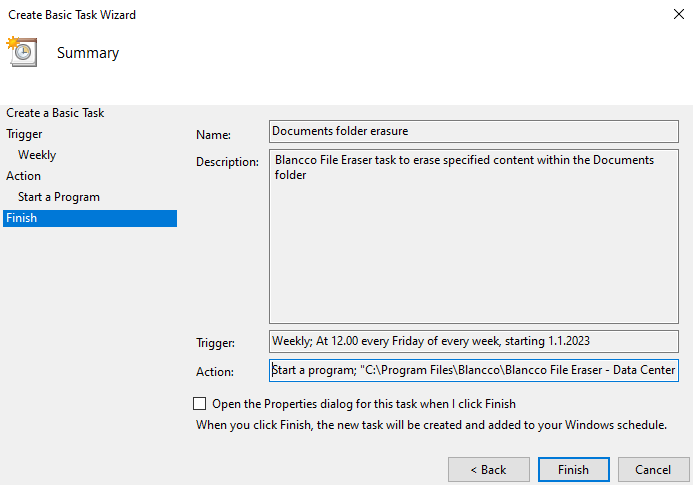
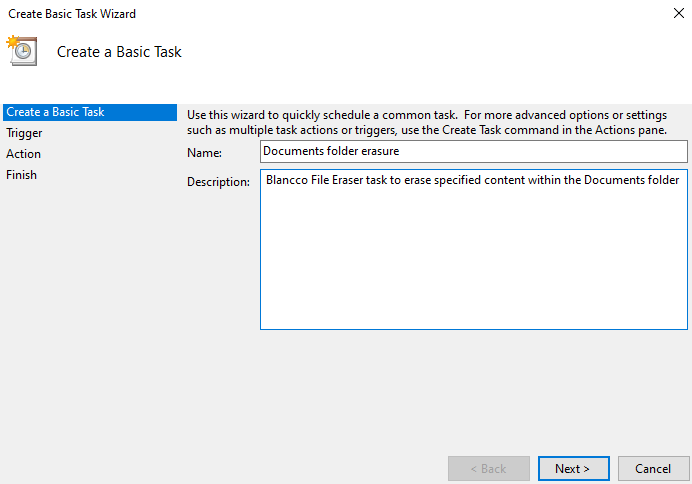
- Enter a name and description for the erasure task.
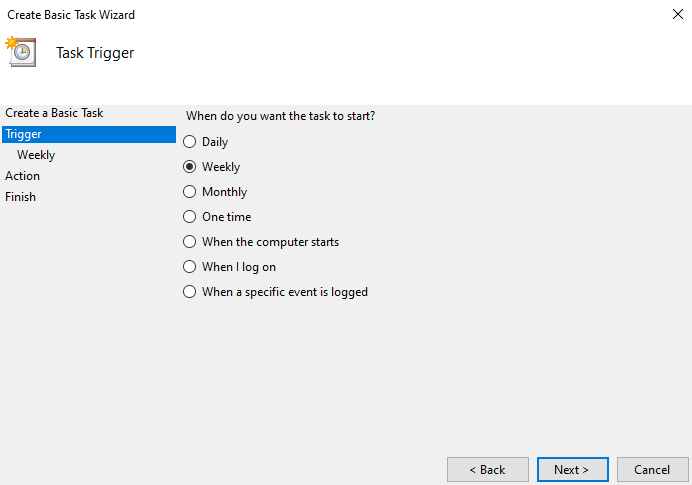
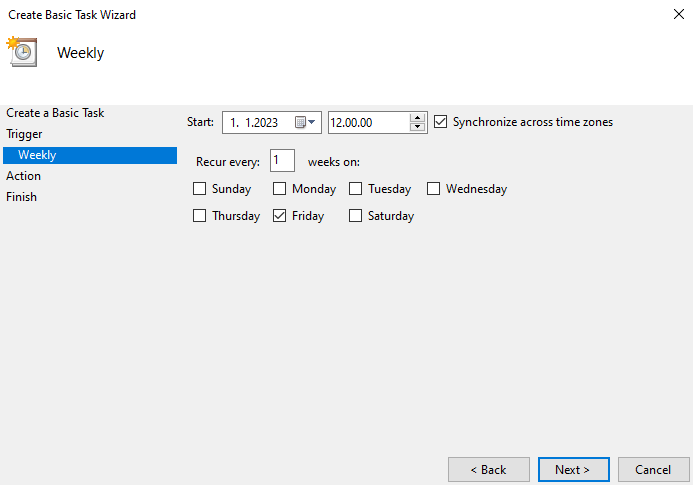
- Specify the trigger when the erasure should be run, in this example "Weekly" is being selected and the task is configured to be run every Friday at noon.
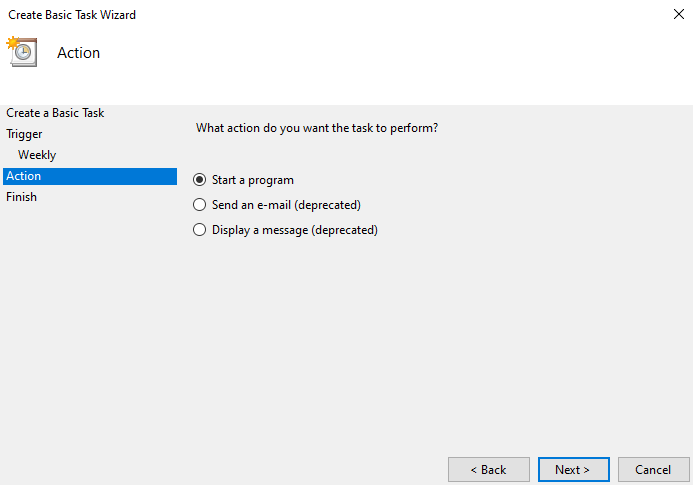
- Select "Start a program" option.
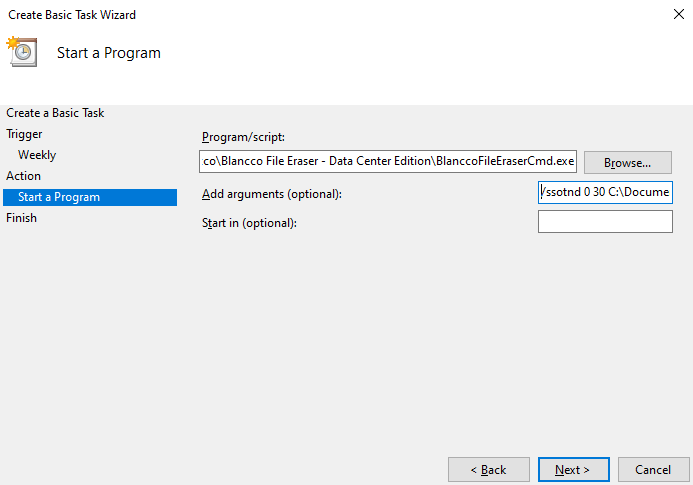
- Define the program and arguments
- Program/script - Specify the path to BlanccoFileEraserCmd.exe (executable is located under the installation directory)
- Add arguments - Specify the erasure argument according to File Eraser documentation, in this example "/ssotnd 0 30 C:\Documents\*.*" is being used which targets all files under C:\Documents\ older than 30 days.
- Start in - Specify the installation directory of File Eraser
- Double check the details on the Summary view and click Finish