
Page History
| Created date作成日Updated date | 更新日 | Affects version影響を受けるバージョンFix version | 修正バージョン |
|---|---|---|---|
|
| Blancco Management Console | N/A |
Description
This article describes how to transfer reports from on-premise Blancco Management Console or Blancco Cloud to Blancco Management Portal.
Pre-requisites:
- The user should have an active account on Blancco Management Portal.
- On-premise Blancco Management Console should have an active internet connection to Blancco Management Portal.
Step by step instructions
説明
この記事では、オンプレミスのBlancco Management ConsoleまたはBlancco CloudからBlancco Management Portaにレポートを転送する方法について説明します。
前提条件:
- ユーザーはBlancco Management Portalに有効なアカウントを持っている必要があります。
- オンプレミスのBlancco Management ConsoleはBlancco Management Portalへのインターネット接続が必要です。
手順
- オンプレミスのBlancco Management ConsoleまたはBlancco Cloudのアカウントにログインします。
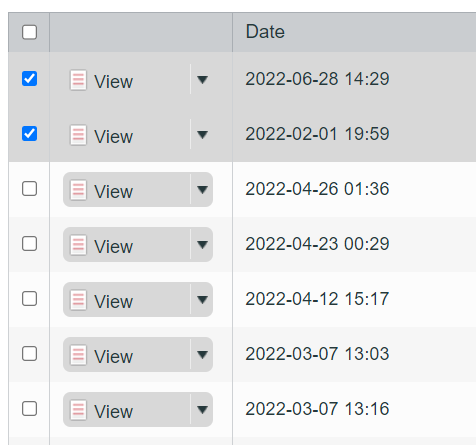
「レポート管理」 タブに移動し、Blancco Management Portalへ転送が必要なレポートを選択します。
現在のビューからすべてのレポートを転送するには、 「すべて転送」を選択します。
Info 現在のビューに表示されているレポートのみが対象であり、システムのすべてのレポートが含まれているとは限らないことに注意してください。アカウントで利用可能なすべてのレポートを対象とするには、レポートフィールドや日付のフィルターを含まないビューを使用するようにしてください。
- 選択したレポートのみを転送するには、転送する各レポートの先頭にあるチェックボックスを選択し、「転送」を選択します。
- 「すべて転送」ボタンと「転送」ボタンはどちらもページの最下部にあります。表示されているレポートの数によっては、ページの末尾までスクロールする必要があります。

- 転送/すべて転送を選択した後、転送先URLと資格情報を転送ジョブのダイアログに入力します。
- 送信先URLを確認するには、Blancco Management Portalにログインします。
- 右上隅のログイン名の横にある矢印をクリックして、ドロップダウンメニューを開きます。
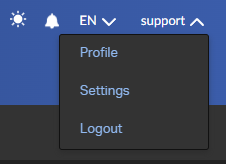
- 「プロファイル」 を選択し、 「消去クライアント設定」 の下にある 「エンドポイント」 をコピーします。
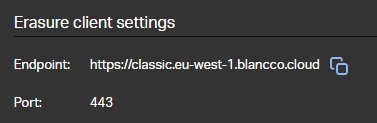
Blancco Management Consoleに戻り、 「送信先」 フィールドにエンドポイントURLを貼り付け、Blancco Management Portalの資格情報を入力します。
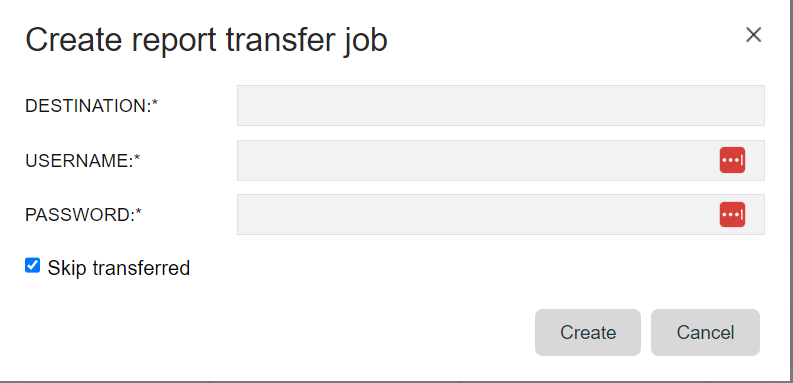
Info 転送済みのものを省略 - 既に転送されているレポートをスキップするには、このオプションを使用します。
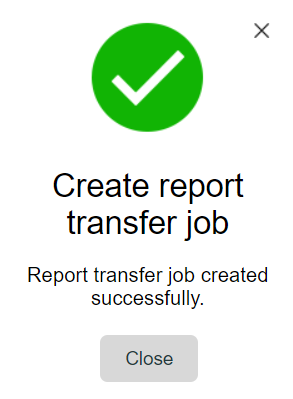
- 「作成」 を選択すると転送が開始され、以下の成功メッセージが表示されます。
- ジョブの完了を監視するには、Blancco Management Consoleの右上隅にある「通知」アイコンを確認します。
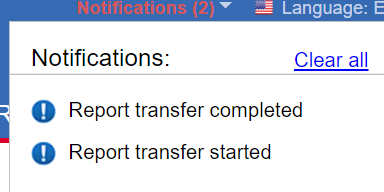
- 転送ジョブが正常に完了すると、選択したすべてのレポートが Blancco Management Portalの「レポート」タブに表示されます。
- Login into on-premise Blancco Management Console or Blancco Cloud account.
Go to "Reporting"-tab and select the reports required to be transferred to Blancco Management Portal.
To transfer all reports from your current view select "Transfer all".
Info Note that only reports visible in the current view are being targeted and this may not contain all reports from the system. To target all the reports available to your account, make sure to use a view which contains no report field or date filters.
- To transfer only selected reports, select the check box on the first column for each report which should be transferred and then select "Transfer".
- Both "Transfer all" and "Transfer" buttons are available at bottom of the page. Depending on how many reports are being displayed you may need to scroll to the bottom of the page.
- After selecting Transfer/Transfer all enter the destination URL along with credentials into the transfer job dialog.
- To confirm the destination URL login into Blancco Management Portal.
- Click on the arrow next to your display name on the right top corner to open the dropdown menu.
- Select "Profile" and copy the Endpoint under "Erasure client settings".
Go back to Blancco Management Console and paste the Endpoint URL in the "Destination" field and fill in the Blancco Management Portal credentials.
Info Skip Transferred - Use this option to skip already transferred reports.
- After selecting "Create" the transfer will start and below success message is displayed.
- To monitor when the job is completed check the "Notifications" icon at the top right corner of Blancco Management Console.
- After the transfer job is successfully completed all the selected reports should be available under the "Reports" tab in the Blancco Management Portal.