Page History
...
- Login into on-premise Blancco Management Console or Blancco Cloud account.
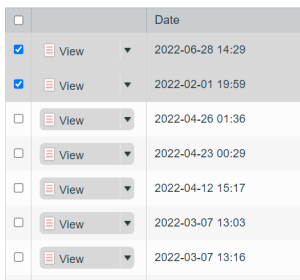
Go to "Reporting"-tab and select the reports required to be transferred to Blancco Management Portal.
To transfer all reports from your current view select "Transfer all".
Info Note that only reports visible in the current view are being targeted and this may not contain all reports from the system. To target all the reports available to your account, make sure to use a view which contains no report field or date filters.
- To transfer only selected reports, select the check box on the first column for each report which should be transferred and then select "Transfer".
- Both "Transfer all" and "Transfer" buttons are available at bottom of the page. Depending on how many reports are being displayed you may need to scroll to the bottom of the page.
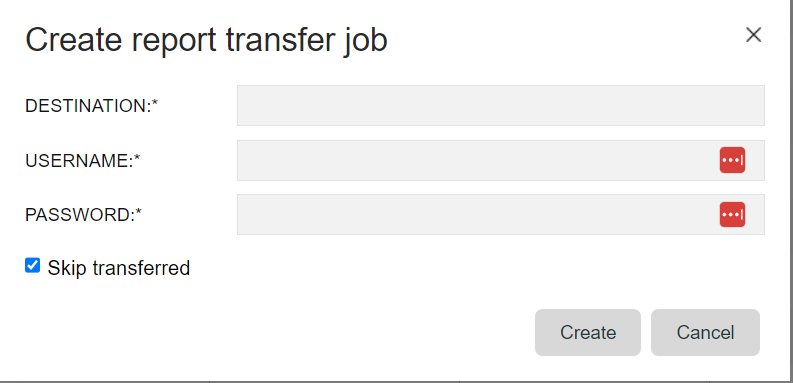
- After selecting Transfer/Transfer all enter the destination URL along with credentials into the transfer job dialog.
- To confirm the destination URL login into Blancco Management Portal.
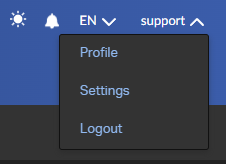
- Click on the arrow next to your display name on the right top corner to open the dropdown menu.
- Select "Profile" and copy the Endpoint under "Erasure client settings".
Go back to Blancco Management Console and paste the Endpoint URL in the "Destination" field and fill in the Blancco Management Portal credentials. The destination should be defined as "https://classic.eu-west-1.blancco.cloud".
Info Skip Transferred - Use this option to skip already transferred reports.
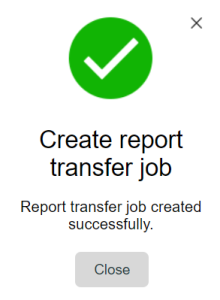
- After selecting "Create" the transfer will start and below success message is displayed.
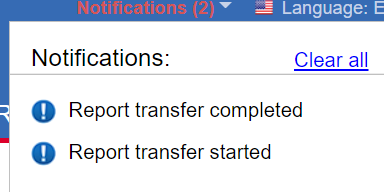
- To monitor when the job is completed check the "Notifications" icon at the top right corner of Blancco Management Console.
- After the transfer job is successfully completed all the selected reports should be available under the "Reports" tab in the Blancco Management Portal.
