Description
Single sign-on simplifies the login process, enhances security and improves the overall user experience. This page introduces the single sign-on feature available in the Blancco Management Portal. Also set of instructions is available to configure and enable SSO for Microsoft Azure.
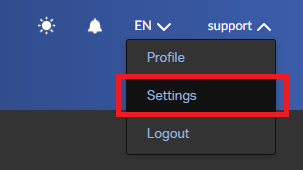
In Blancco Management Portal Single sign-on settings are available for manager users or user with a custom role granting "Configure SSO" authority. SSO settings are available under user's "Settings" which can be accessed by clicking your username from the top right corner of the screen.
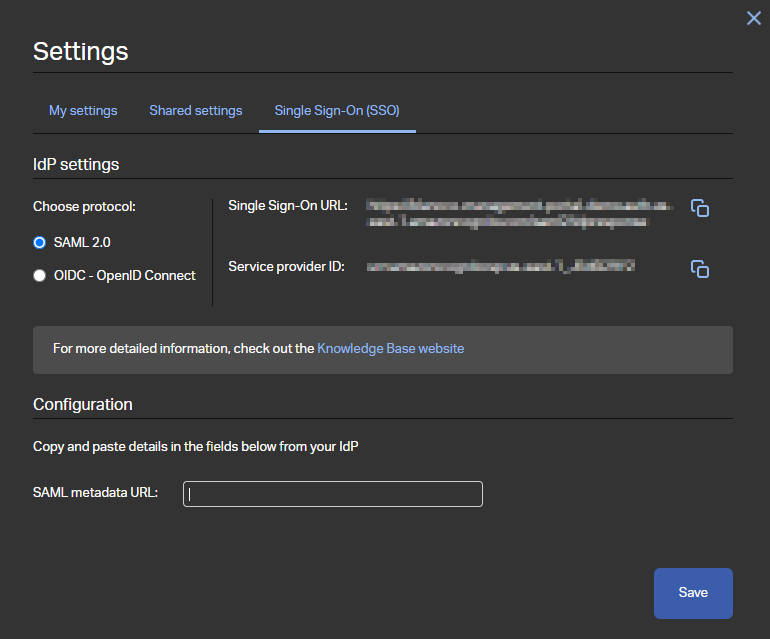
If the user has authority to configure the SSO setting a "Single Sign-On (SSO)" tab should be available. This tab contains all the SSO related settings and provides all the required details to set it up.
Single sign-on in Blancco Management Portal also supports user provisioning. This allows Blancco Management Portal to create user automatically to the corresponding tenant when they initially authenticate using single sign-on.
Settings available for SAML 2.0
- Single Sign-On URL - This URL is used as the reply URL/assertion URL as well as the sign on URL on the identity provider configuration.
- Service Provider ID - This value is used as the identifier or the entity ID on the identity provider configuration when setting up SAML SSO.
- SAML metadata URL - User needs to provide a valid URL from where the corresponding metadata for the SAML can be found. This URL should be available from the identity provider details after configuring the SSO.
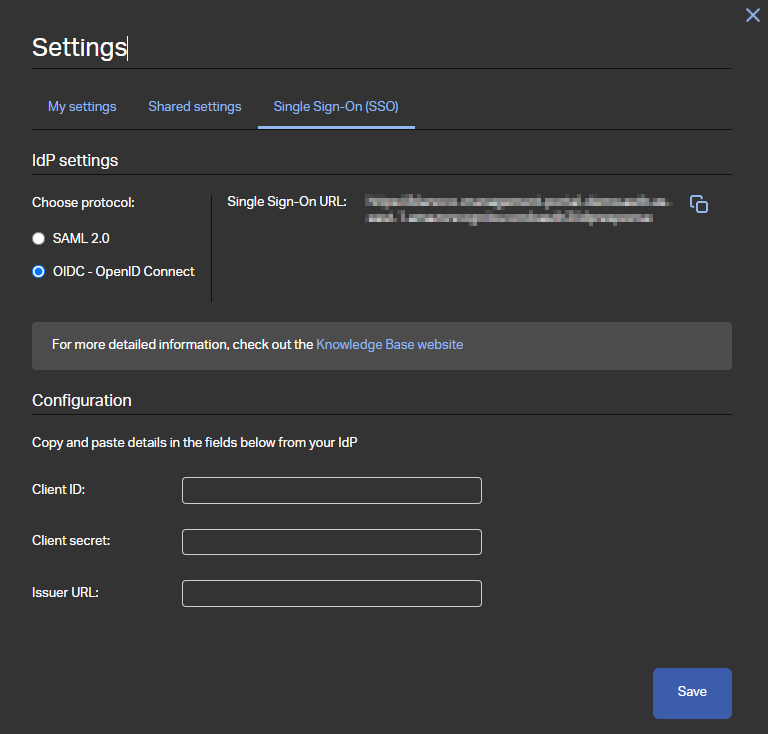
Settings available for OpenID Connect
Microsoft Azure - SSO with SAML 2.0
- Create a new enterprise application
- Assign corresponding users/groups to the newly created application (this defines the list of users who are allowed to sign in using SSO). Alternatively you can disable the Properties option "Assigment required?" to allow any user to login using SSO.
- Configure required settings under the "Single sign-on" tab (make sure to select "SAML" as the sign-on method)
- Under the "Basic SAML Configuration" define "Identifier (Entity ID)", "Reply URL (Assertion Consumer Service URL)" and "Sign on URL".
- "Identifier (Entity ID)" corresponds to "Service Provider ID" available in the BMP SSO settings
- "Reply URL (Assertion Consumer Service URL)" and "Sign on URL" both correspond to Single Sign-On URL available in the BMP SSO settings.
- Under "Attributes & Claims" the "name" attribute should be set to "user.displayname" (by default this is set to "user.userprincipalname").
- Acquire "App Federation Metadata Url" which is available under "SAML Certificates" section and copy the URL to BMP SSO settings to the "SAML metadata URL" field.
- Under the "Basic SAML Configuration" define "Identifier (Entity ID)", "Reply URL (Assertion Consumer Service URL)" and "Sign on URL".