| Created date | Updated date | Affects version | Fix version |
|---|---|---|---|
| Drive Eraser | N/A |
Downloading the Software
Configuring the Drive Eraser ISO image
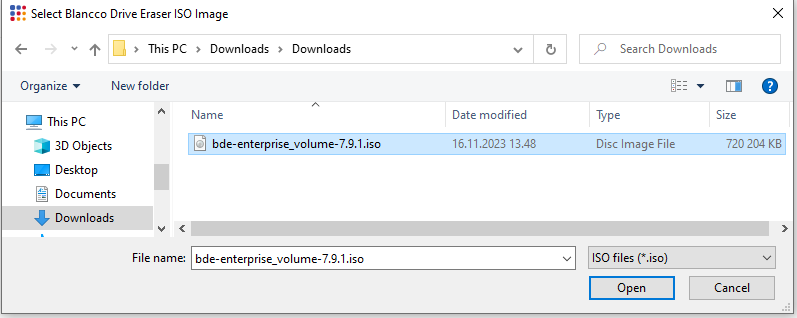
- Run Blancco Drive Eraser Configuration tool and click the Load button to open Blancco Drive Eraser ISO image.

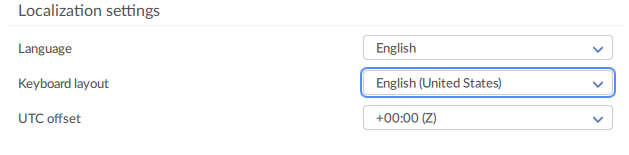
- General settings: Change the Language and Keyboard layout based on your location if needed.
- Communication settings: Fill in the Blancco Management Portal hostname and Port settings as follows:
- Hostname / IP: classic.eu-west-1.blancco.cloud
- Port: 443
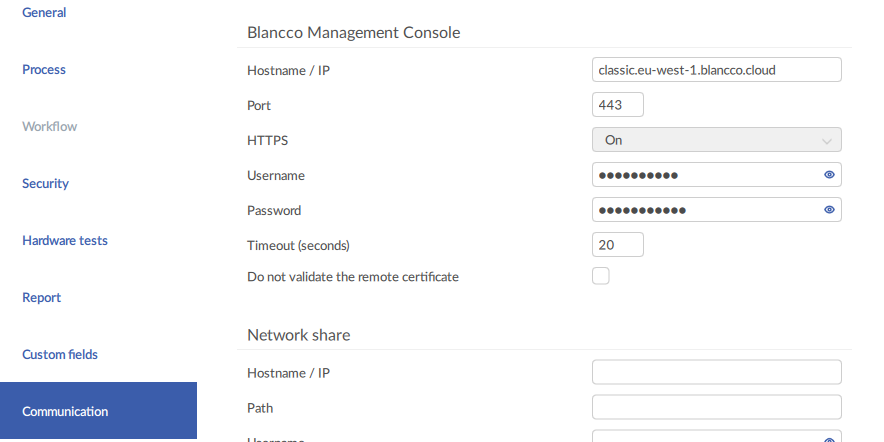
Recommended: Enter the Management Portal Username and Password to enable Blancco Drive Eraser automatically connect and consume license from Blancco Management Portal account.
- Save the ISO image by clicking the "Save" or "Save as" button available on the bottom right corner of the screen.

Recommended: "Save as" enables you to make a new copy of the ISO file.
How to create a bootable USB drive using the Blancco USB Creator Tool
- Run the Blancco USB Creator Tool as an Administrator.
- Plug in a USB drive.
- Select your USB drive from the “Media” drop-down list.
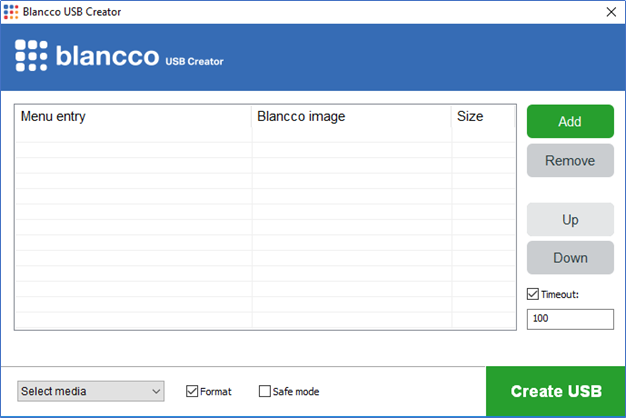
- Click “Add” and navigate to your Blancco ISO file.
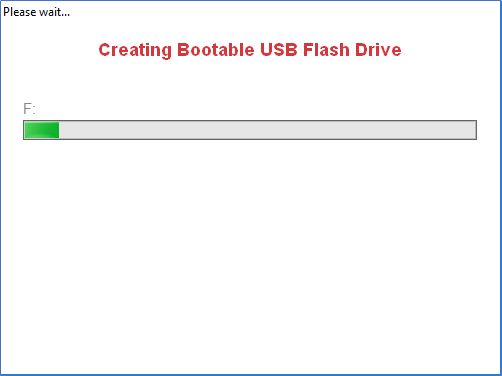
- Click “Create” to make your bootable USB.
NOTE: If “Format” is selected you will receive the following warning message. Click “Yes” to continue.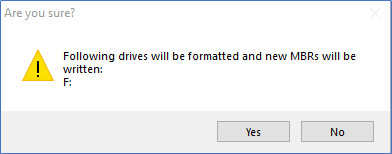
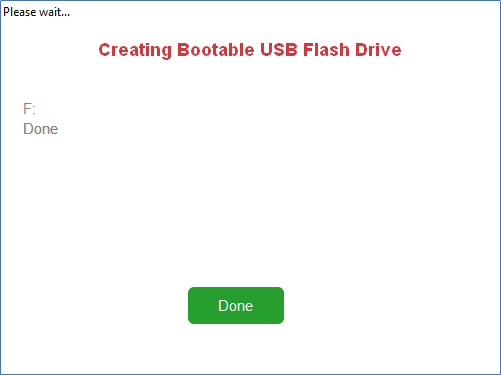
- Once completed click “Done”.