| Created date | Updated date | Affects version | Fix version |
|---|---|---|---|
| Mobile Diagnostics and Erasure | N/A |
Downloading the Software
Creating Bootable Media
Installing Blancco Mobile Diagnostics and Erasure
Prerequisites
Hardware requirements and recommendations:
Read more detailed requirements from the Blancco Mobile Diagnostics and Erasure user manual (available from the Blancco Management Portal).
| Minimum | Recommended | |
| CPU | x64 processor | x64 Quad core processor |
| RAM | 16 GB | 16+ GB |
| Hard drive | 20 GB | 100+ GB |
| USB port | USB 2.0 compatible port | PCI Express USB adapter |
| Display | 1280 * 1024 resolution | FullHD (1920 * 1080) or better |
| Internet | Over 1Mb/s | Wired connection (over 20Mb/s) |
Firewall requirements:
- Internet connection is required to erase iOS devices
- Make sure that there is no firewall blocking the Apple servers:
- itunes.apple.com
- appldnld.apple.com
- appldnld.apple.com.edgesuite.net
- gs.apple.com
- gg.apple.com
- 17.151.36.30
- 17.171.36.30
USB related requirements:
- USB hubs with an external power supply
- 500mA/port is recommended
- Note that every single device connected to a USB port (USB stick, HASP, keyboard, mouse) consumes power and "performance resources"
- PCI Express USB adapters
- Standard USB adapters integrated to motherboards do not usually have sufficient bandwidth for handling a high number of concurrent device connections
- Use PCI Express USB adapters to allow more devices to be processed simultaneously
- PCI-e USB 3.0 adapters with the NEC Renesas uPD720201 or uPD720202 chipset are recommended
- PCI-e adapter card should get power from the PC power supply and NOT through the motherboard
- Connect a proper amount of devices per USB bus
- It is recommended to connect max. 20 devices per USB bus
- Use high-quality USB cables
- For iOS devices, use cables that Apple has certified and that come with the "Made for iPod/iPhone/iPad" logo
- For Android devices with USB-C cable, use cables that are compliant with the USB-C specification. Non-compliant USB-C cable can damage the mobile device and the PC.
NFC Tag: Must be NTAG216 with 888 bytes of storage space
Permanent Installation
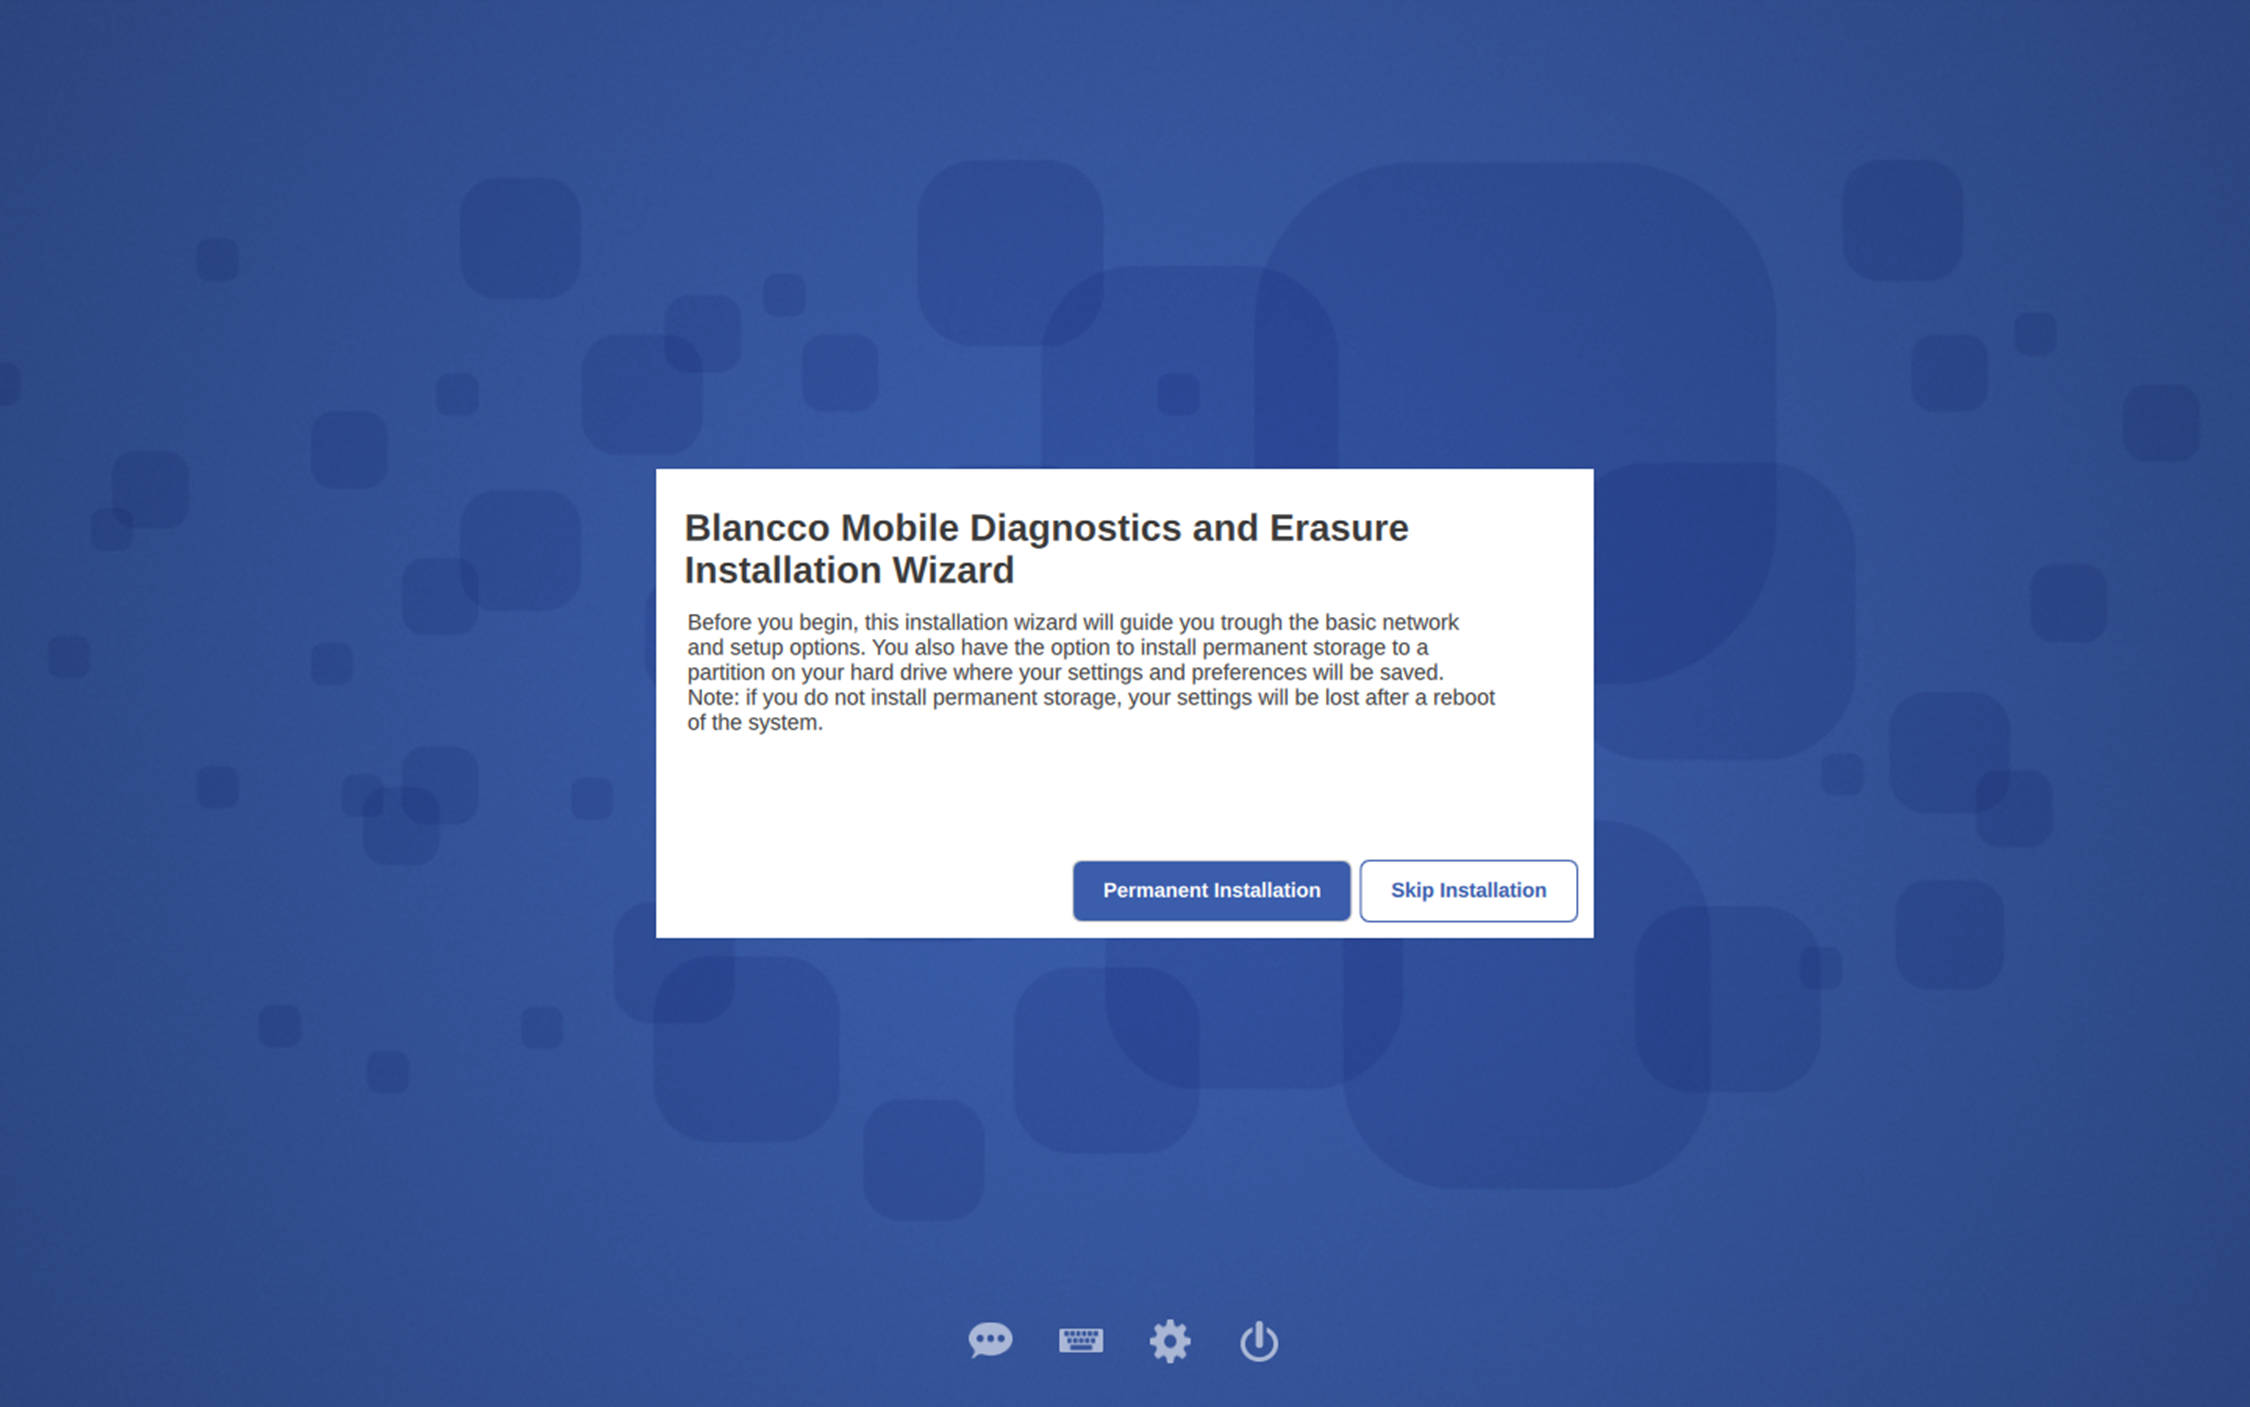
- When booting up a machine without BMDE installed, the following screen is displayed:
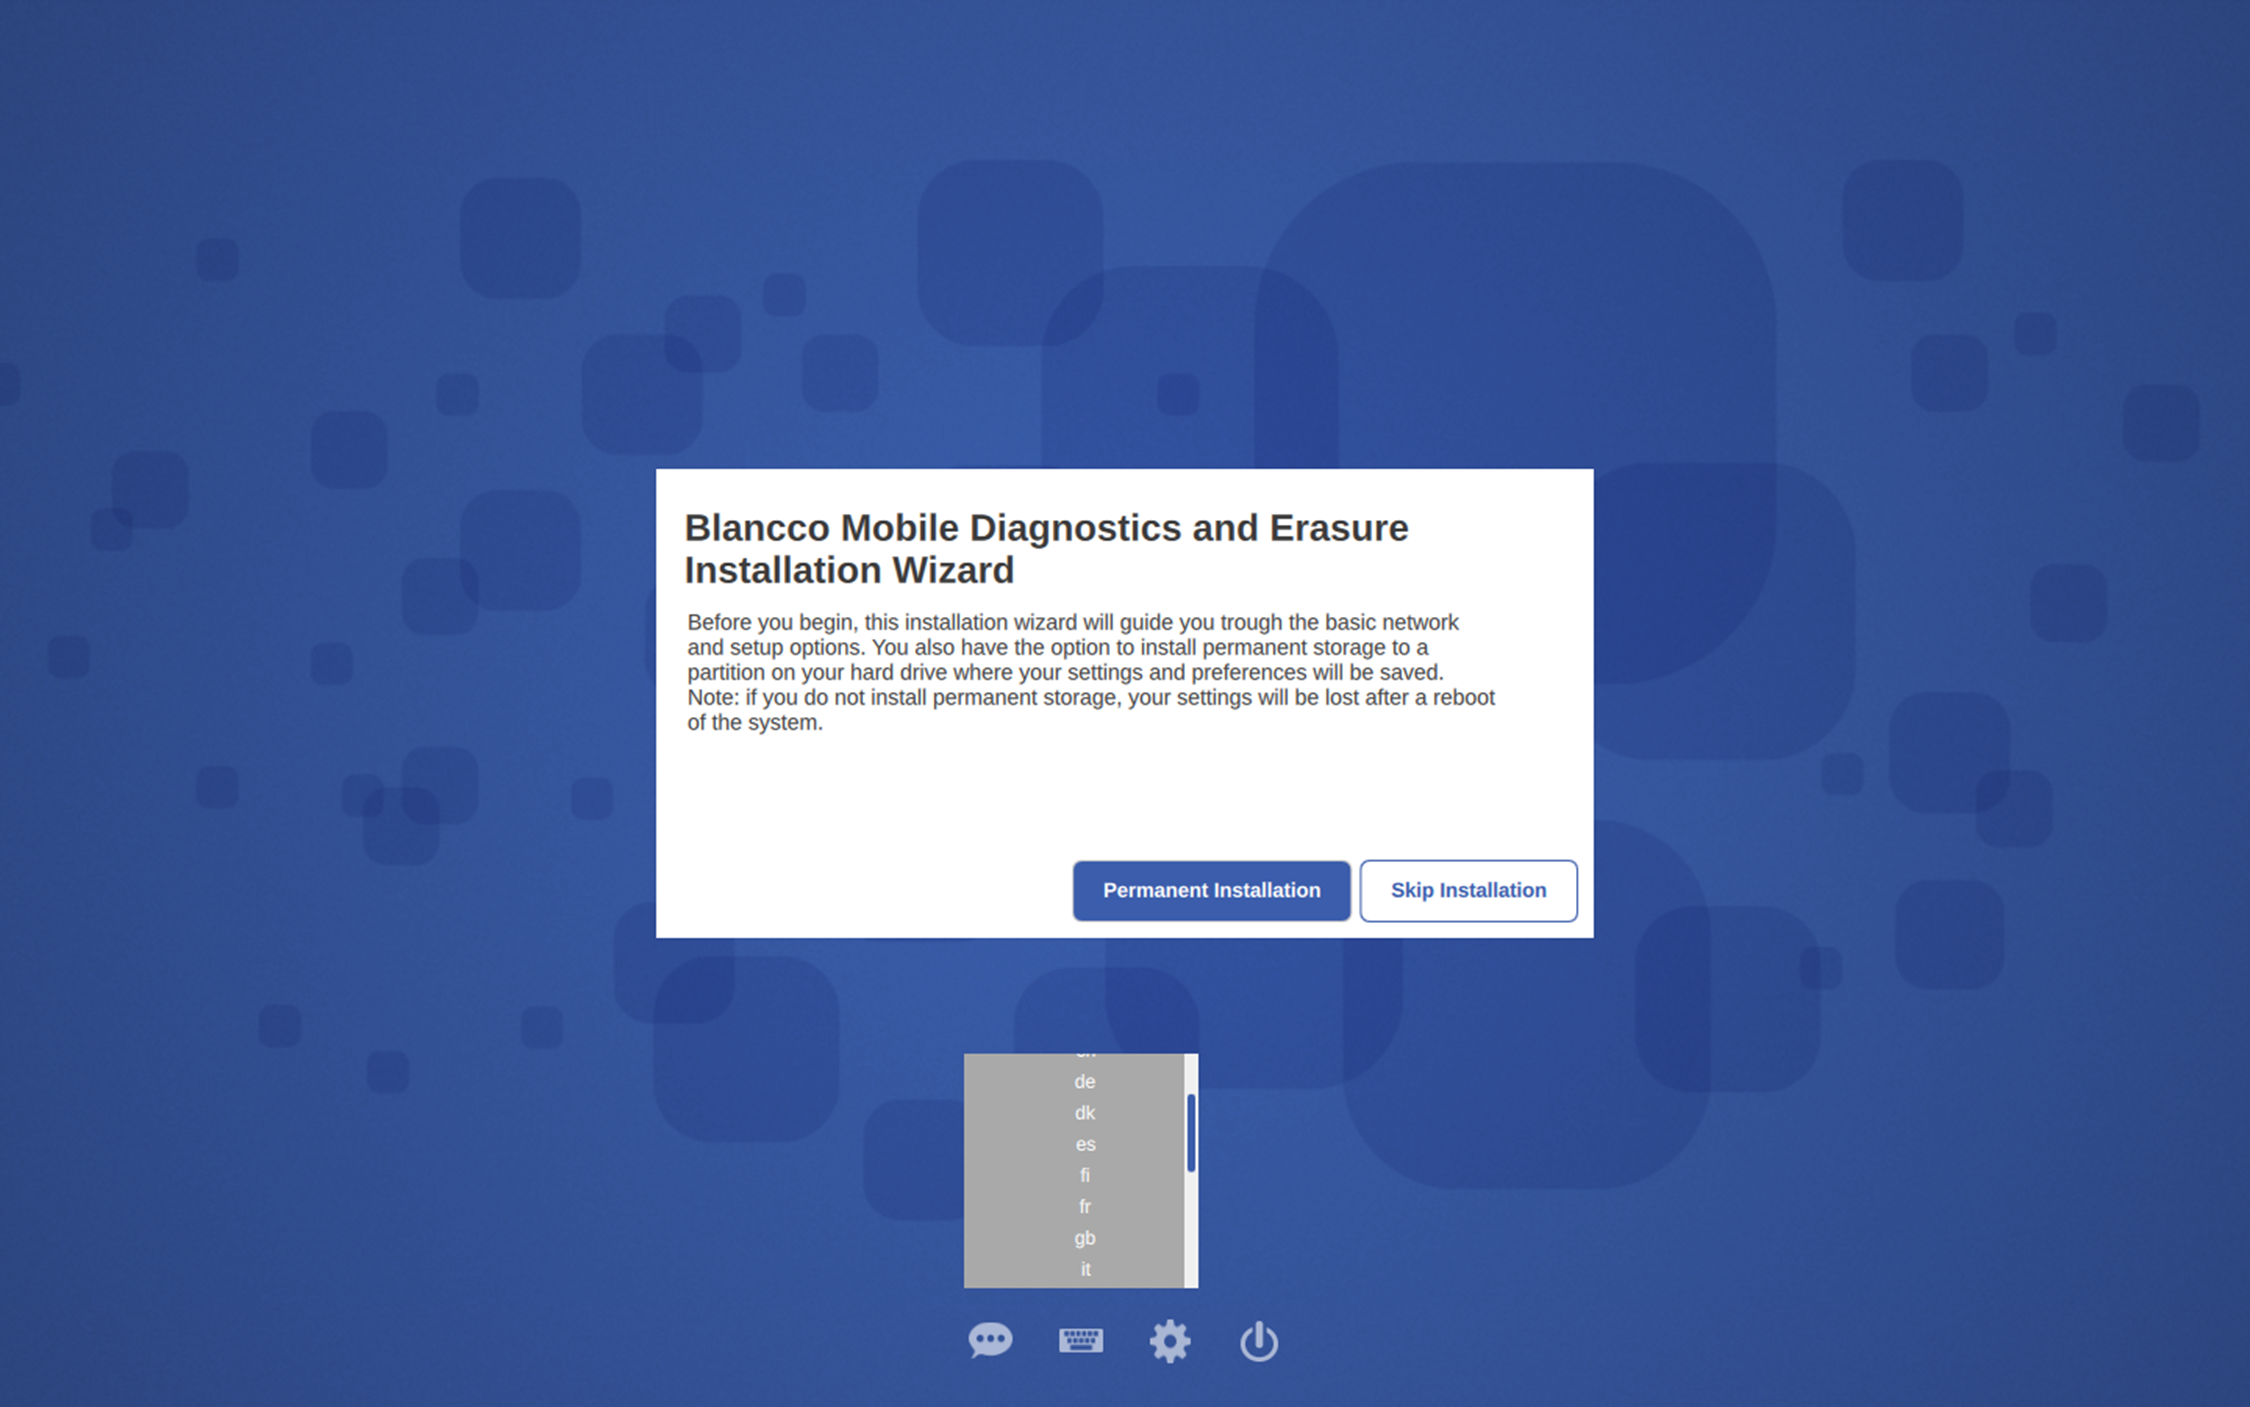
- The keyboard layout can be selected by pressing Select Keyboard Layout. This will open a drop down menu with the available keyboard layouts:
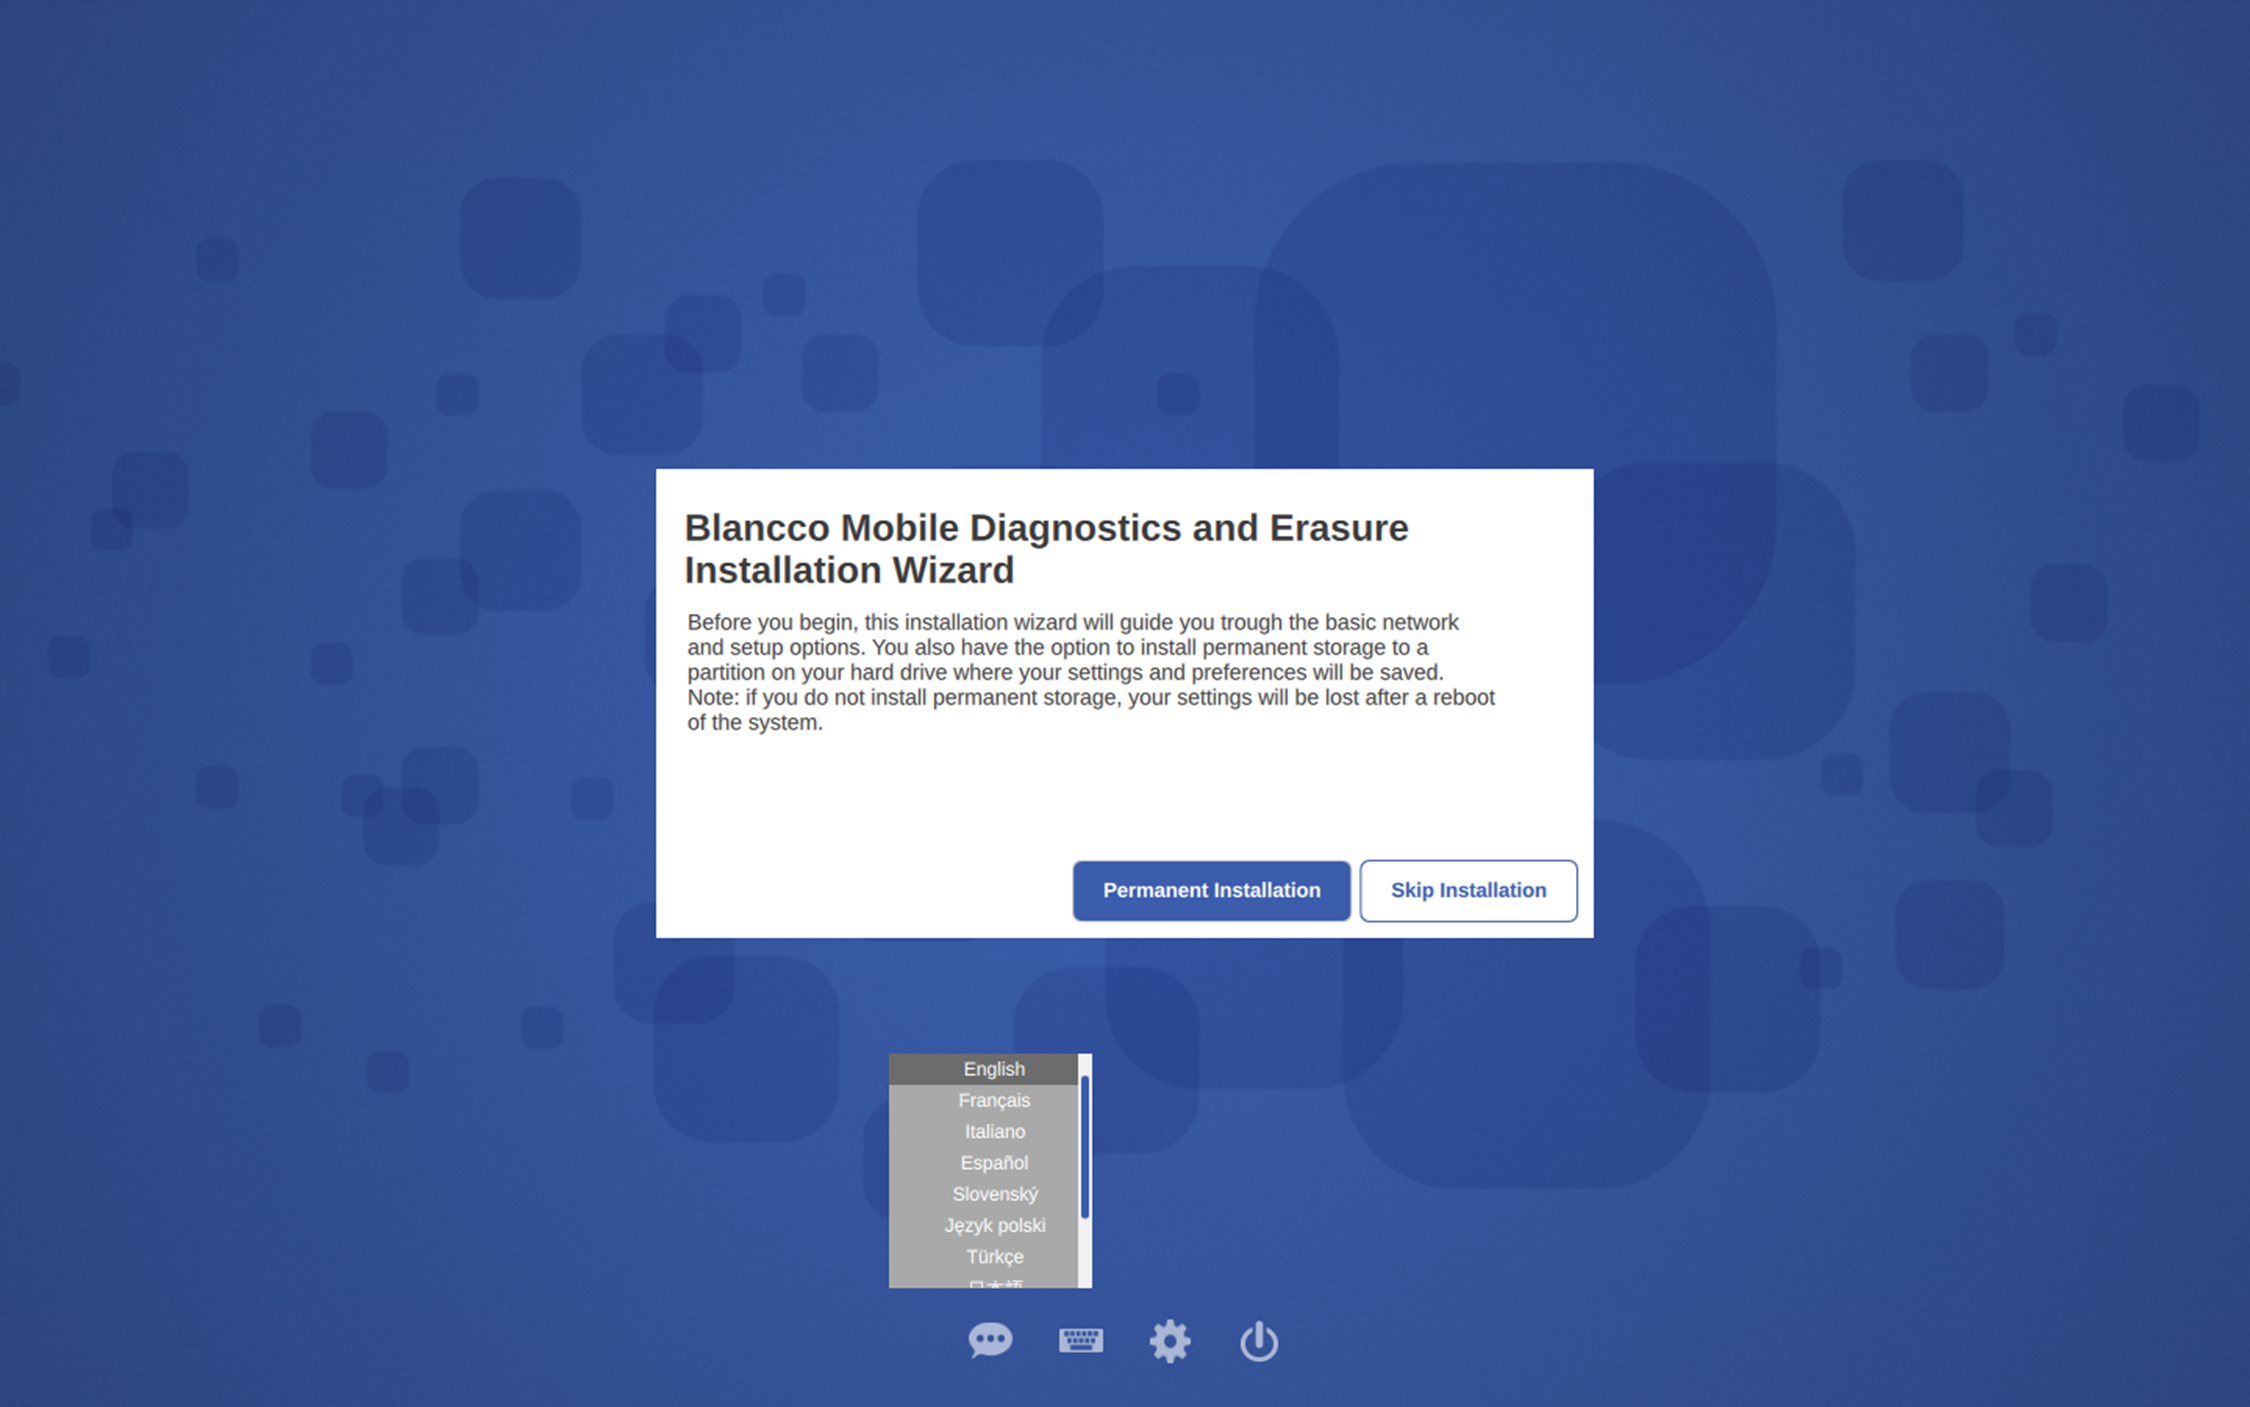
- The language for the installation wizard and the software can be selected by pressing Select Language. This will open a dropdown menu with all available languages:
- The Permanent Installation button will start the installation process for permanent on the HDD.
By pressing the Skip Installation button, the installation to the HDD will be skipped and the software will be run on the RAM and the installation wizard will skip to Set Network stage. (not recommended)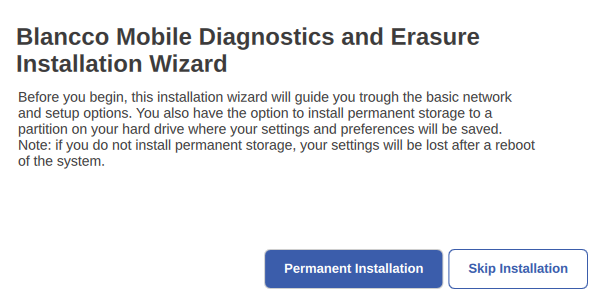
Note: If the software is run without a permanent installation, all files (including large firmware images) will be stored in the RAM. In a production environment always install the software on the disk by using the permanent installation option. Also installing the boot loaders allows you to boot from the hard disk on subsequent runs, making the boot faster. - No matter which button is pressed, the End User License Agreement is shown. The whole agreement must be read, understood and accepted before it is possible to proceed. Use arrow keys or Page Up and Down buttons or scroll wheel to scroll the text. When the end of the agreement is reached, press Accept to continue.
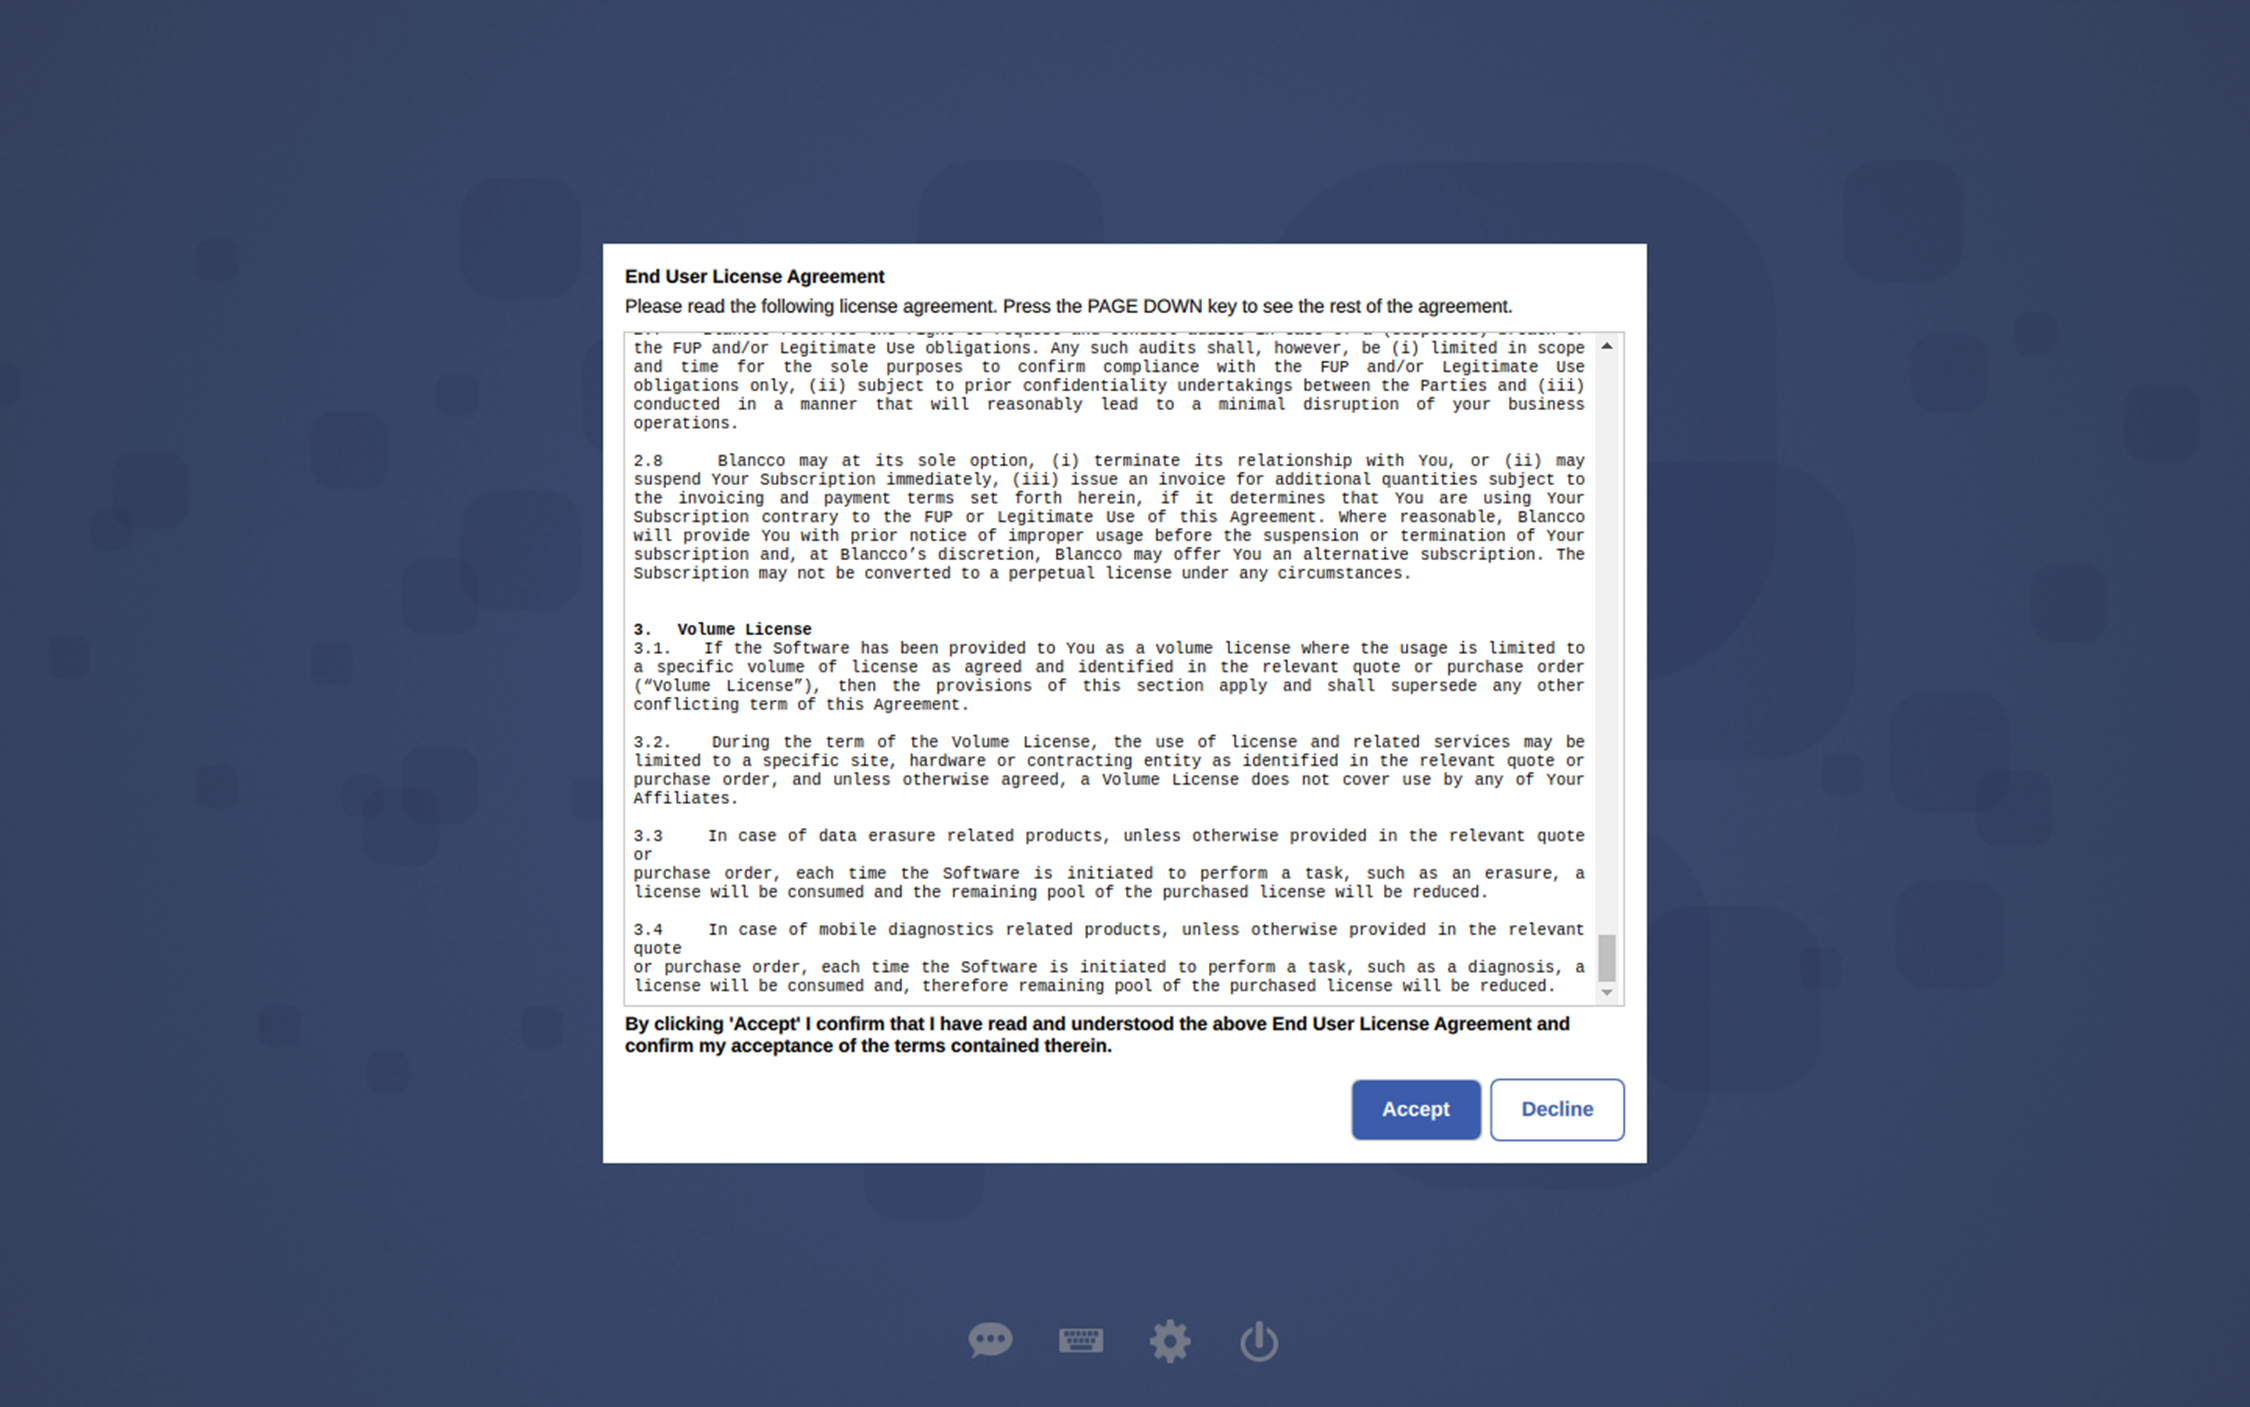
If the Back button is pressed and the EULA is not accepted, the user is returned to the starting menu. Using the software is not possible without accepting the EULA. - Permanent Installation will create a partition on the HDD for BMDE and install all the boot-related files to the disk. After the installation is complete, all user accounts, settings and firmware images will be saved on the HDD. Please note that a permanent installation on an external USB hard drive is not supported. Note that previous data on the disk is deleted, if the permanent installation is used.
Automatic partitioning option is recommended.
The first screen of the permanent installation will offer two choices for partitioning; automatic and manual. Note that the minimum size of the partition is 20GB.
When Automatic partitioning has been selected, the following screen will be shown: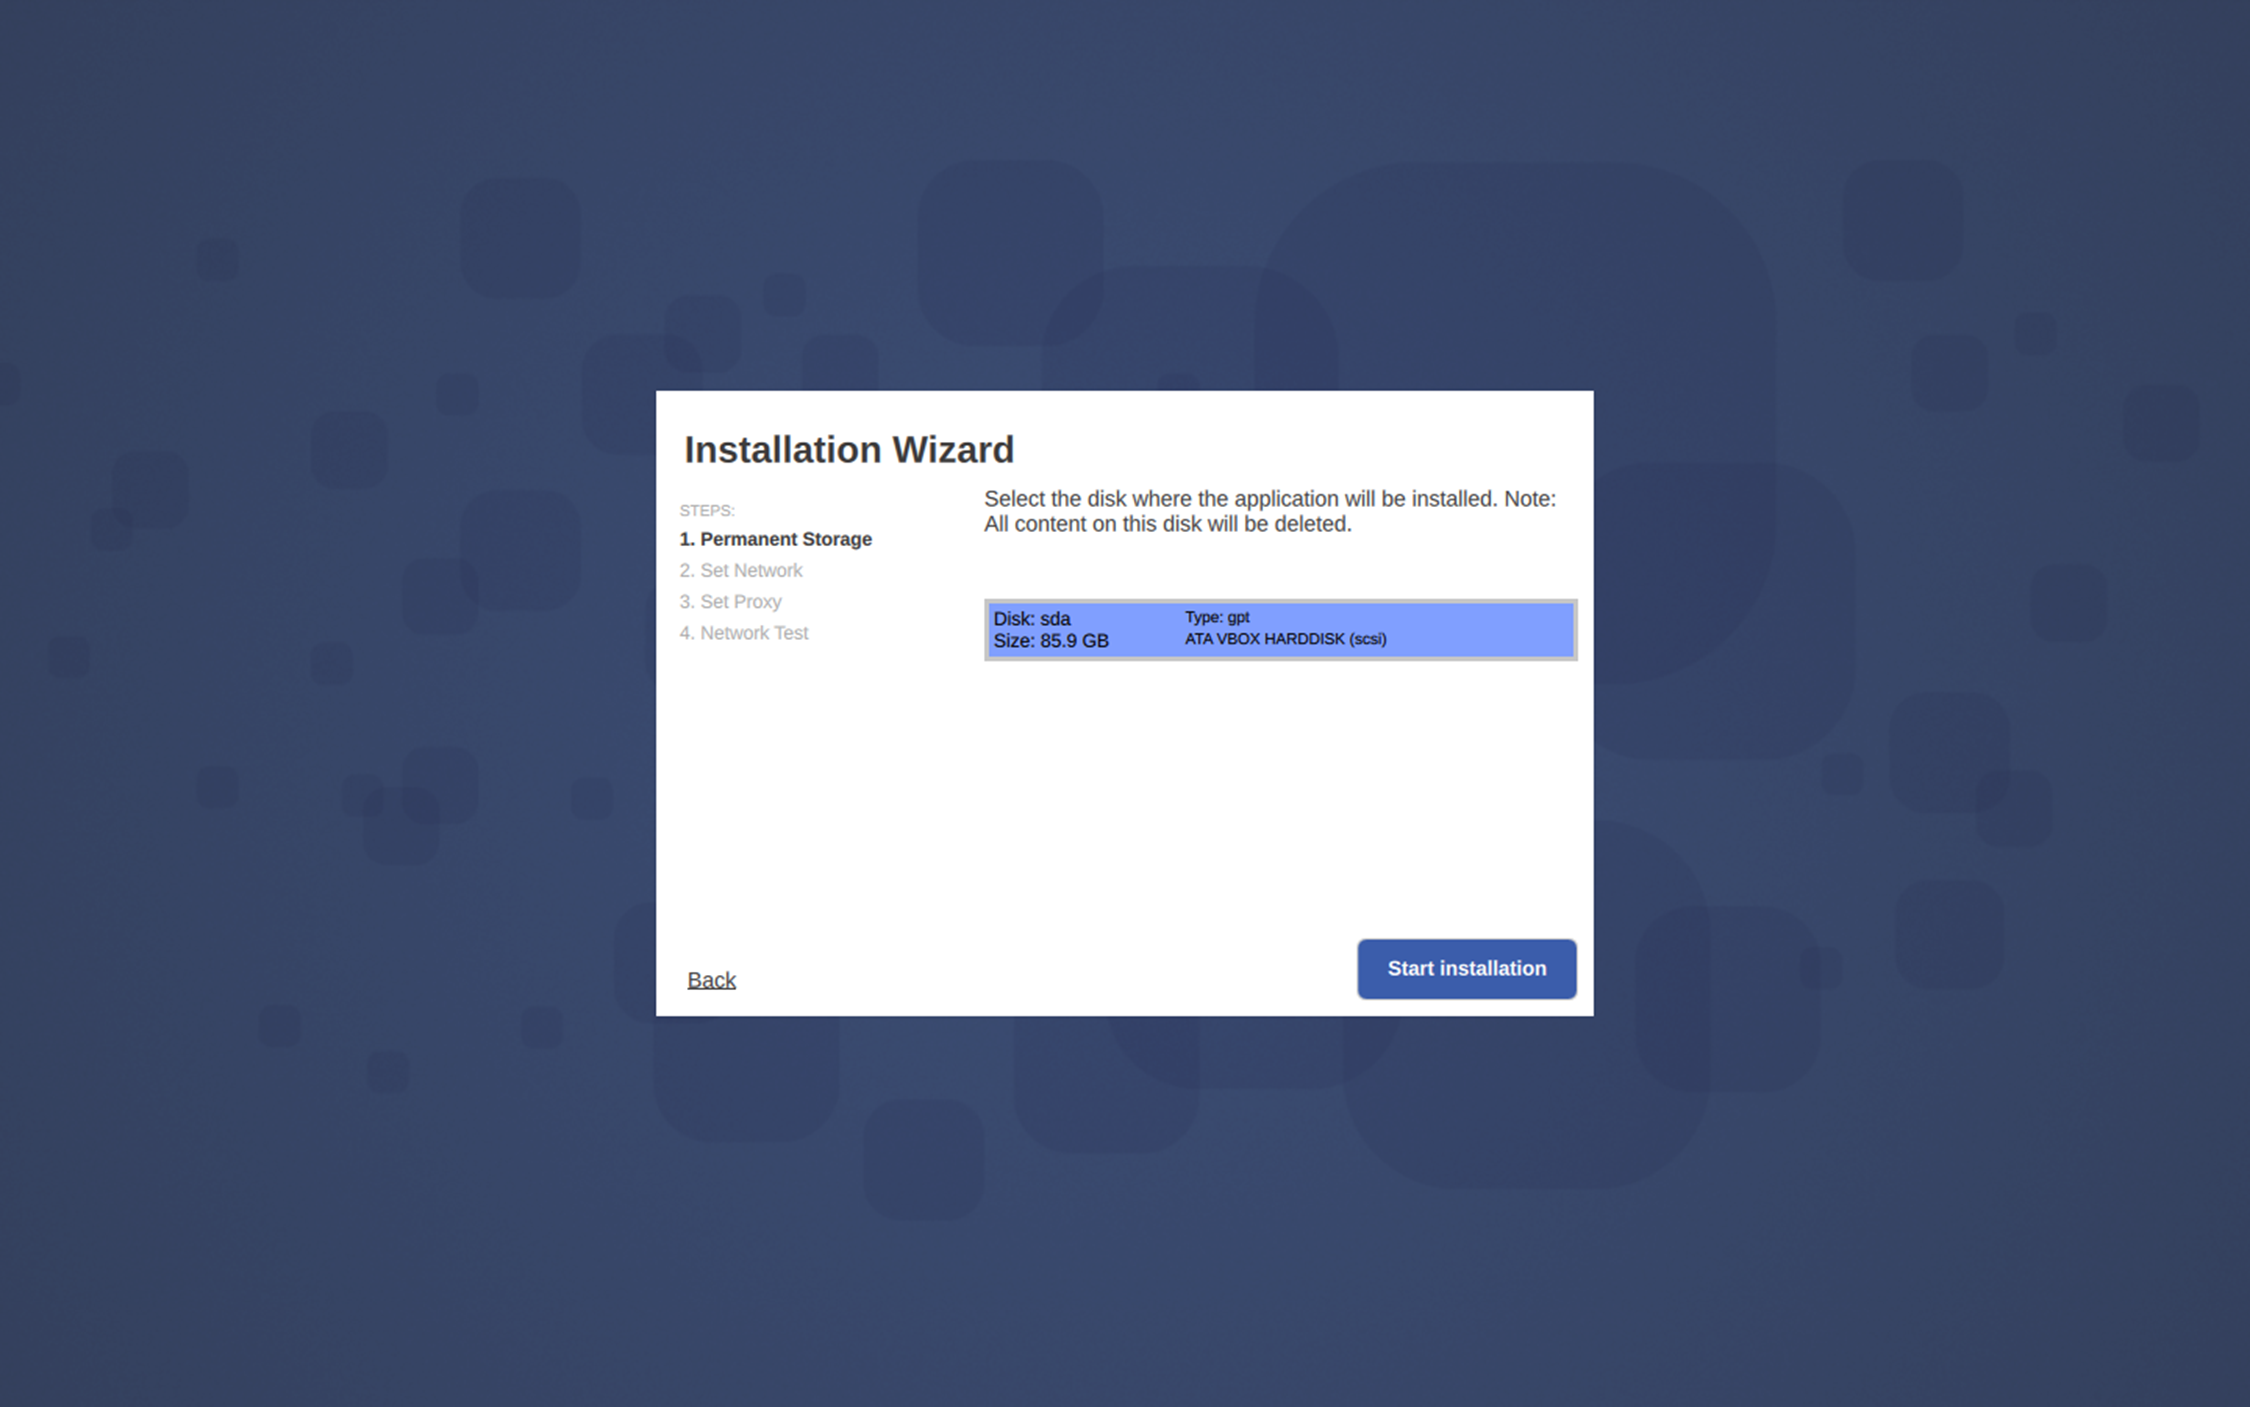
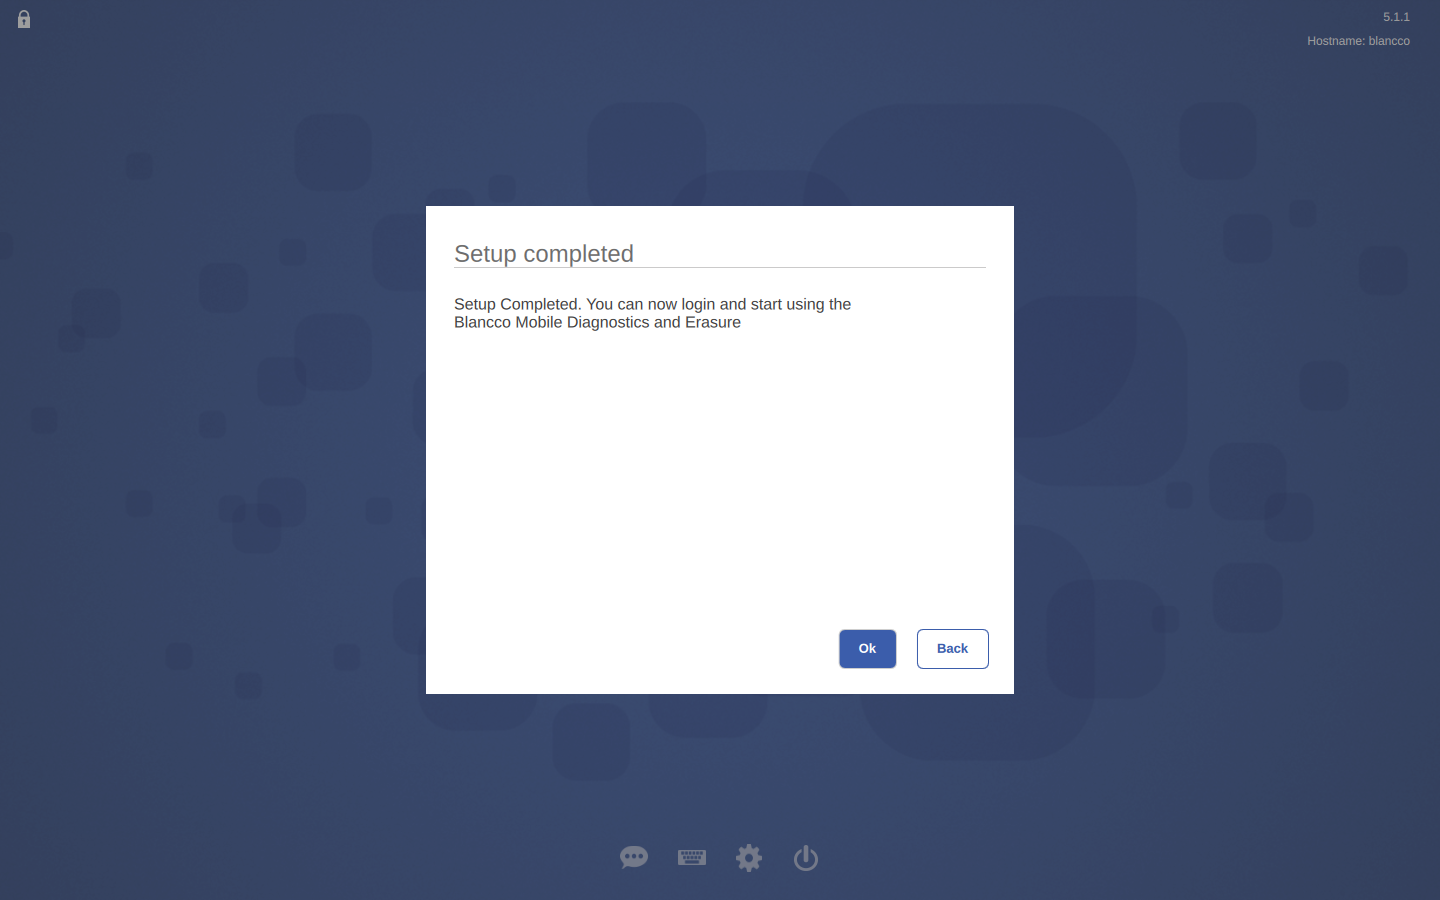
Select the disk you wish to install BMDE on from the Selected disk dropdown menu and press Start installation. Note that the automatic process will partition the whole disk into three partitions (data, drive and swap). - After the installation has been completed, the following popup will be shown:

- Remove the installation media (if the software was installed from USB memory stick or from an optical disc) and press either Shutdown (this shuts the machine down) or Restart (this restarts the machine). When the machine is booted the next time (either through restart or normal boot), the installation wizard will continue the login screen. Note that if a network is not found by the wizard, then a configuration wizard for network connection is started on the next boot.
Set-up Wizard
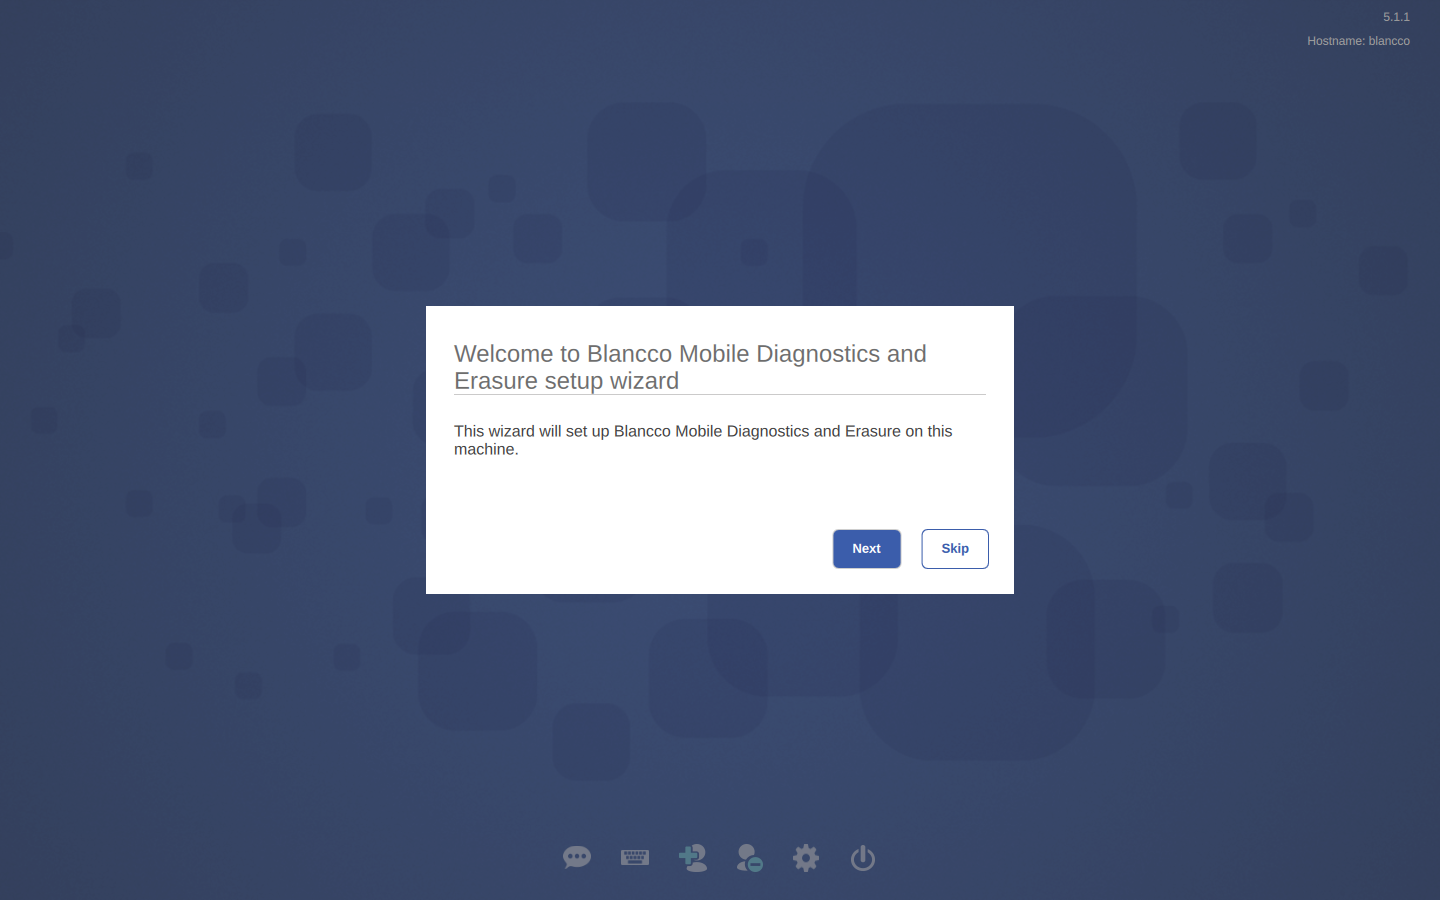
- After installing BMDE, running the system for the first time will open up the Blancco BMDE set-up wizard.
First you configure the workstation type, language and keyboard layout. These can be changed later: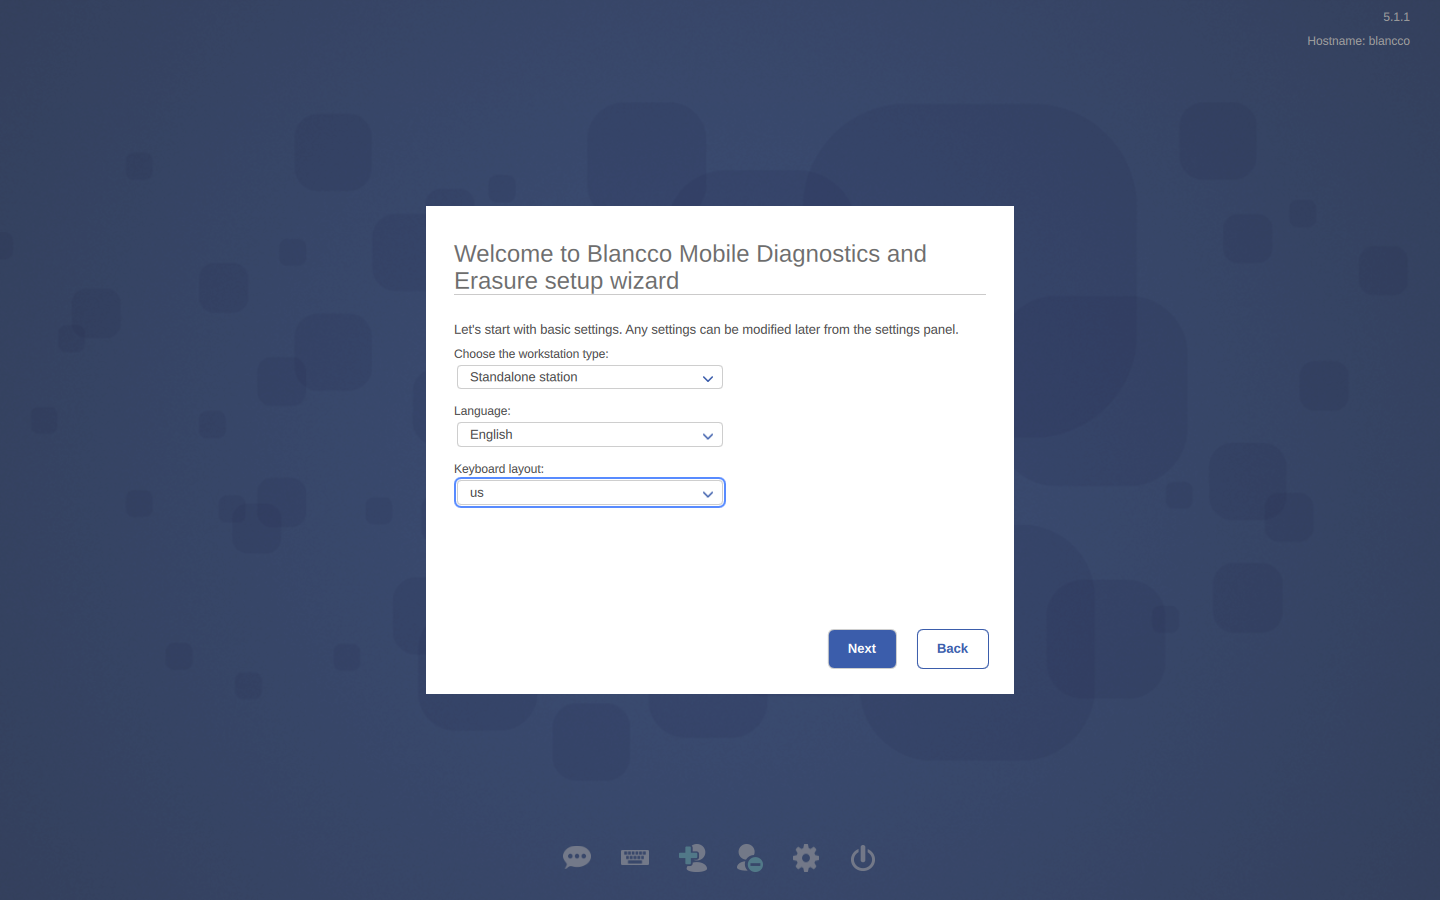
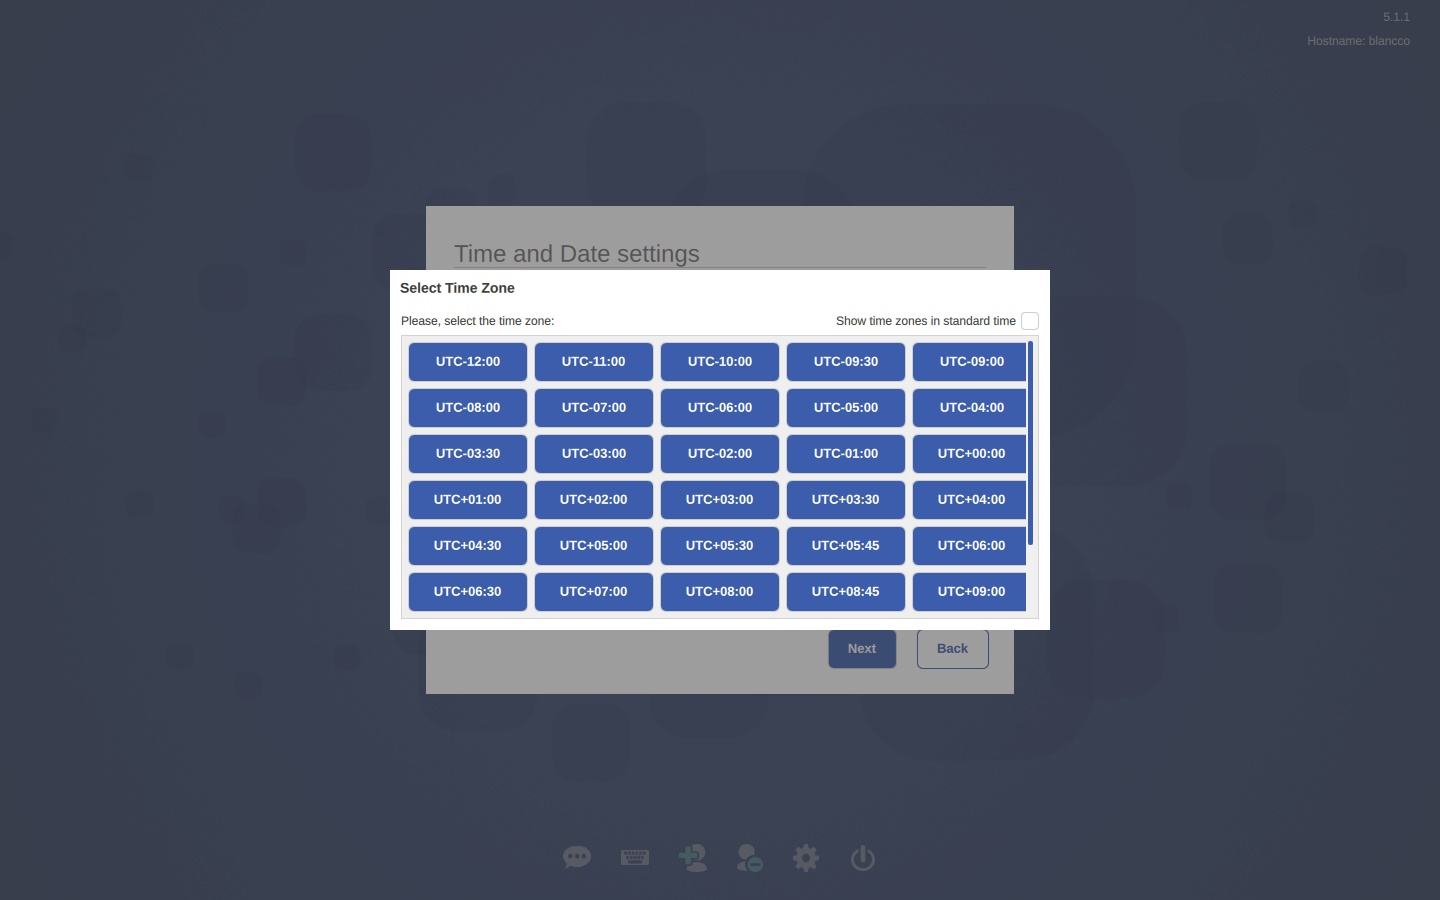
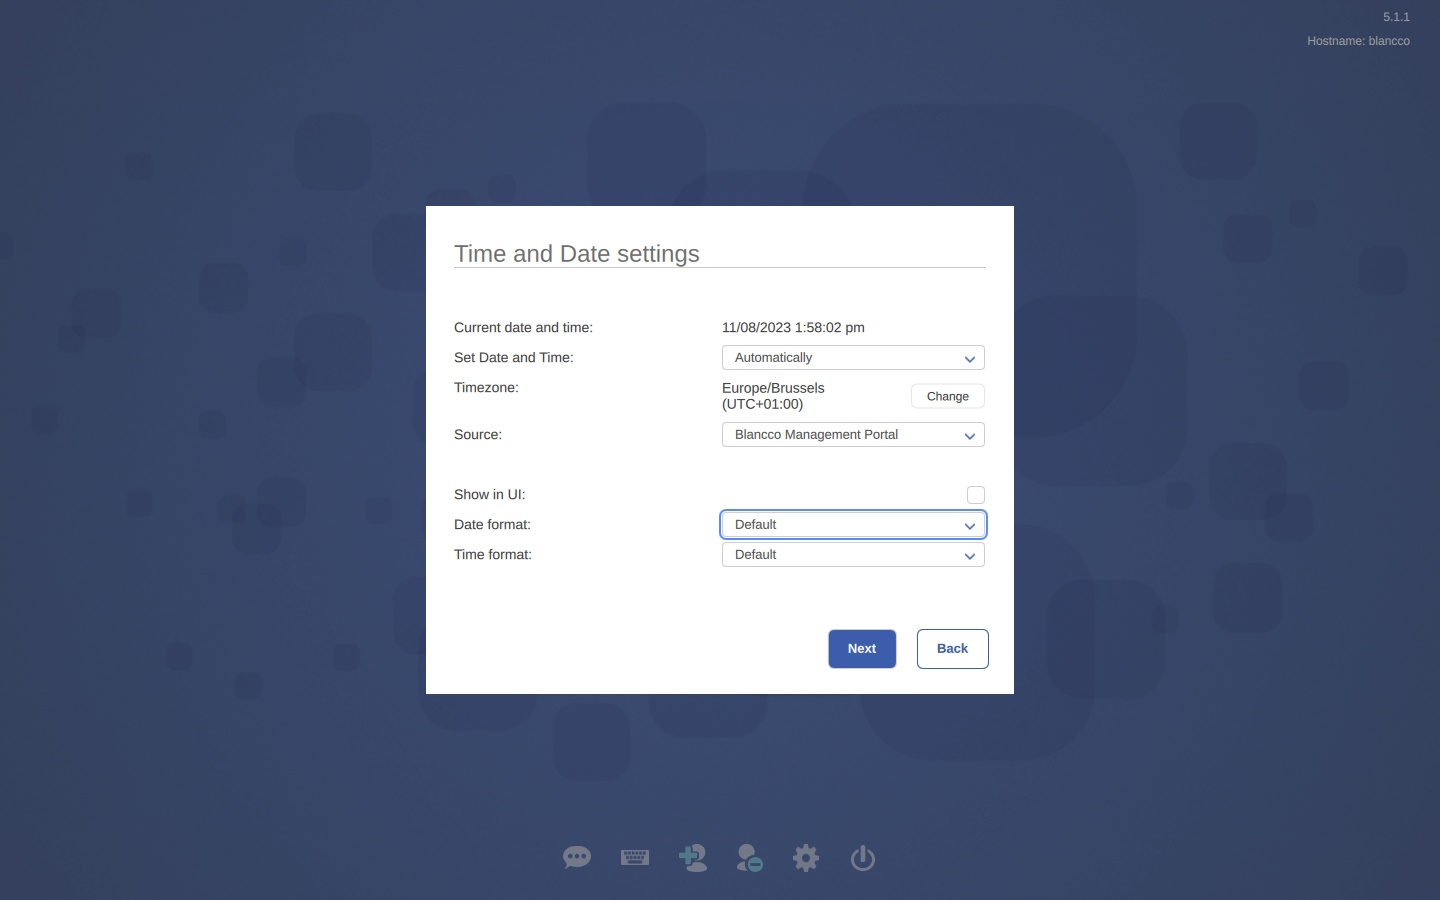
- Adjust timezone, time and date settings:

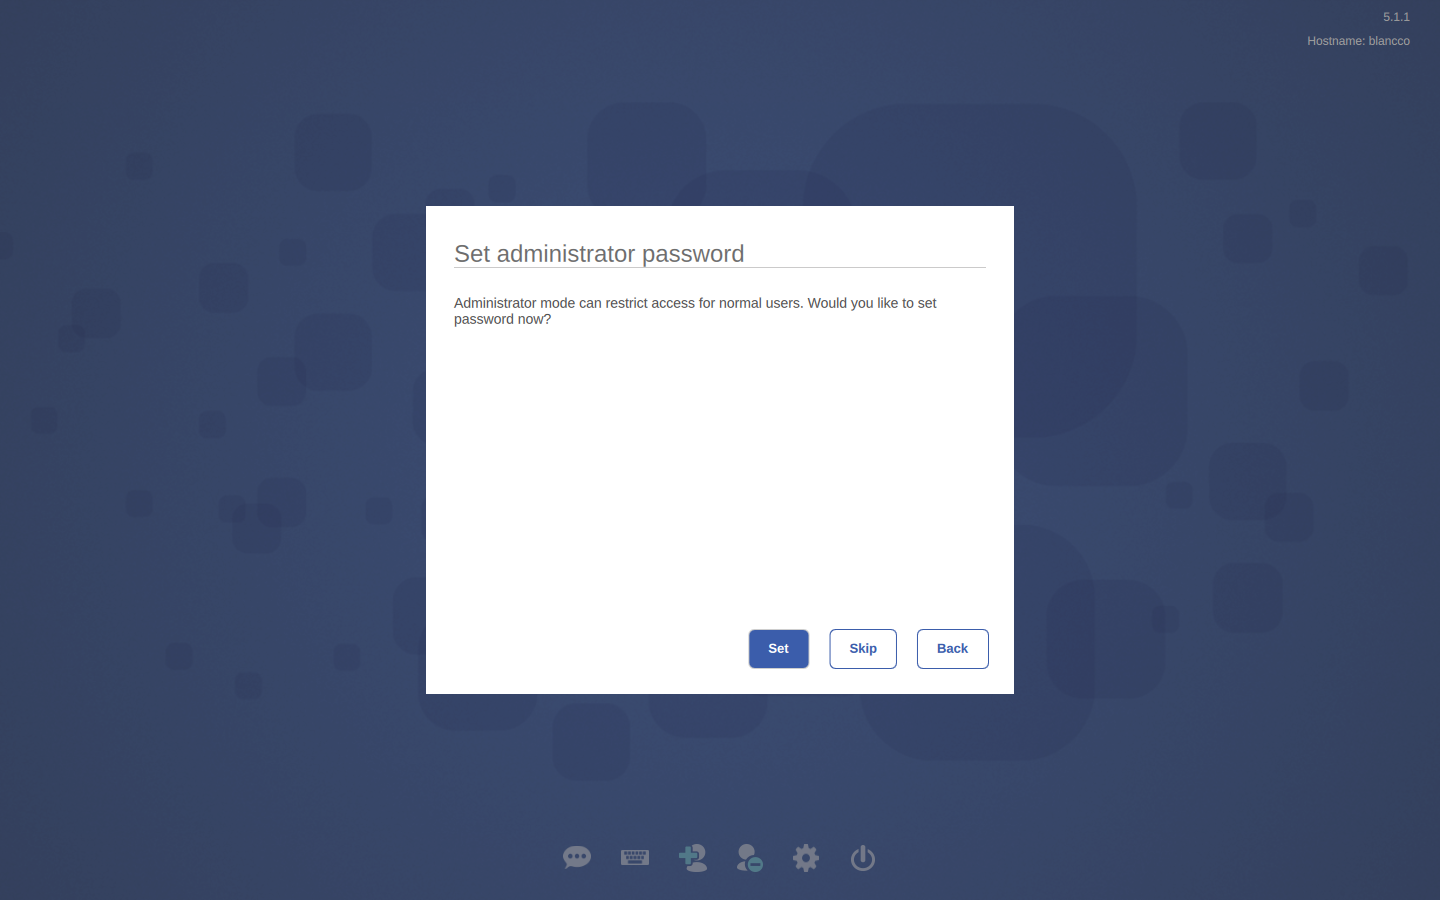
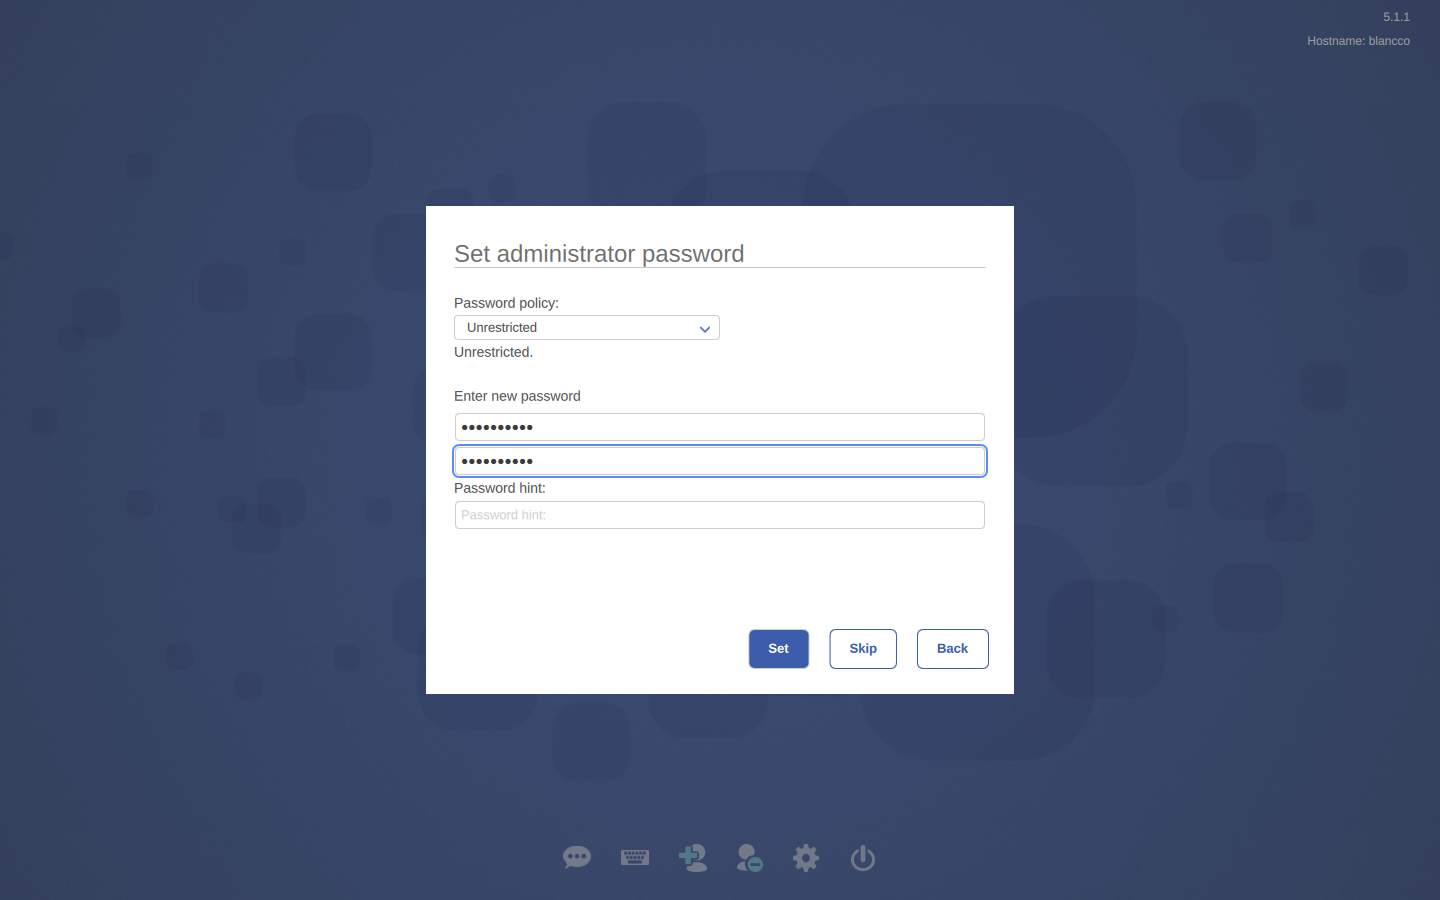
- Define Administrator's password and settings:
Next, you will need to connect to Blancco Management Portal for license consumption.
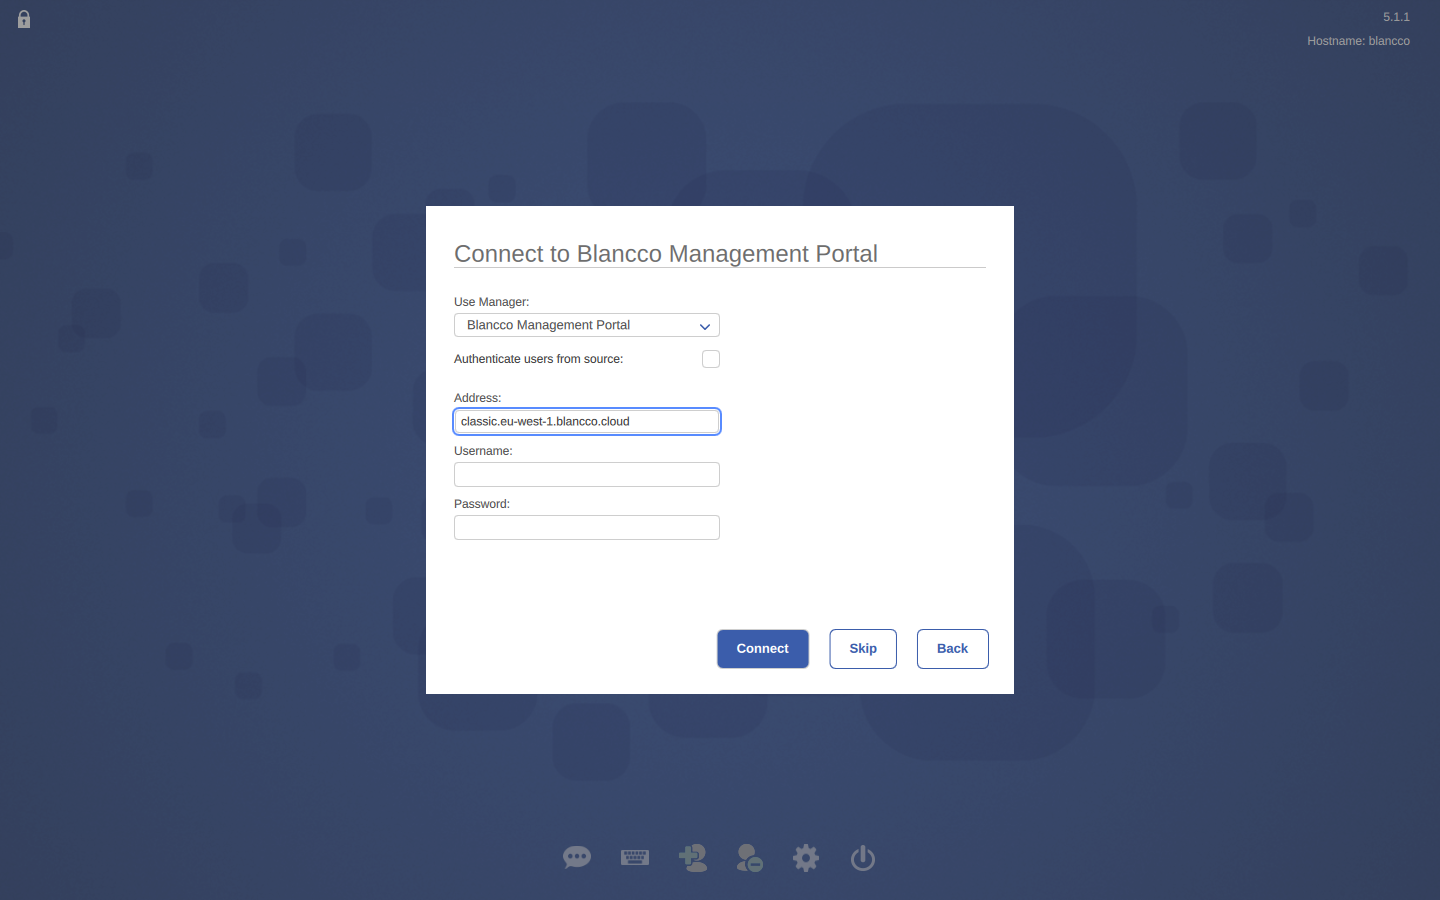
We recommend to tick Authenticate users from BMP to simplify the user login process. In this case your local BMDE credentials are the same as the cloud one.Note! "Authenticate users from source" requires users' internal password to be used and doesn't support the "Company ID" login method available in Blancco Management Portal.
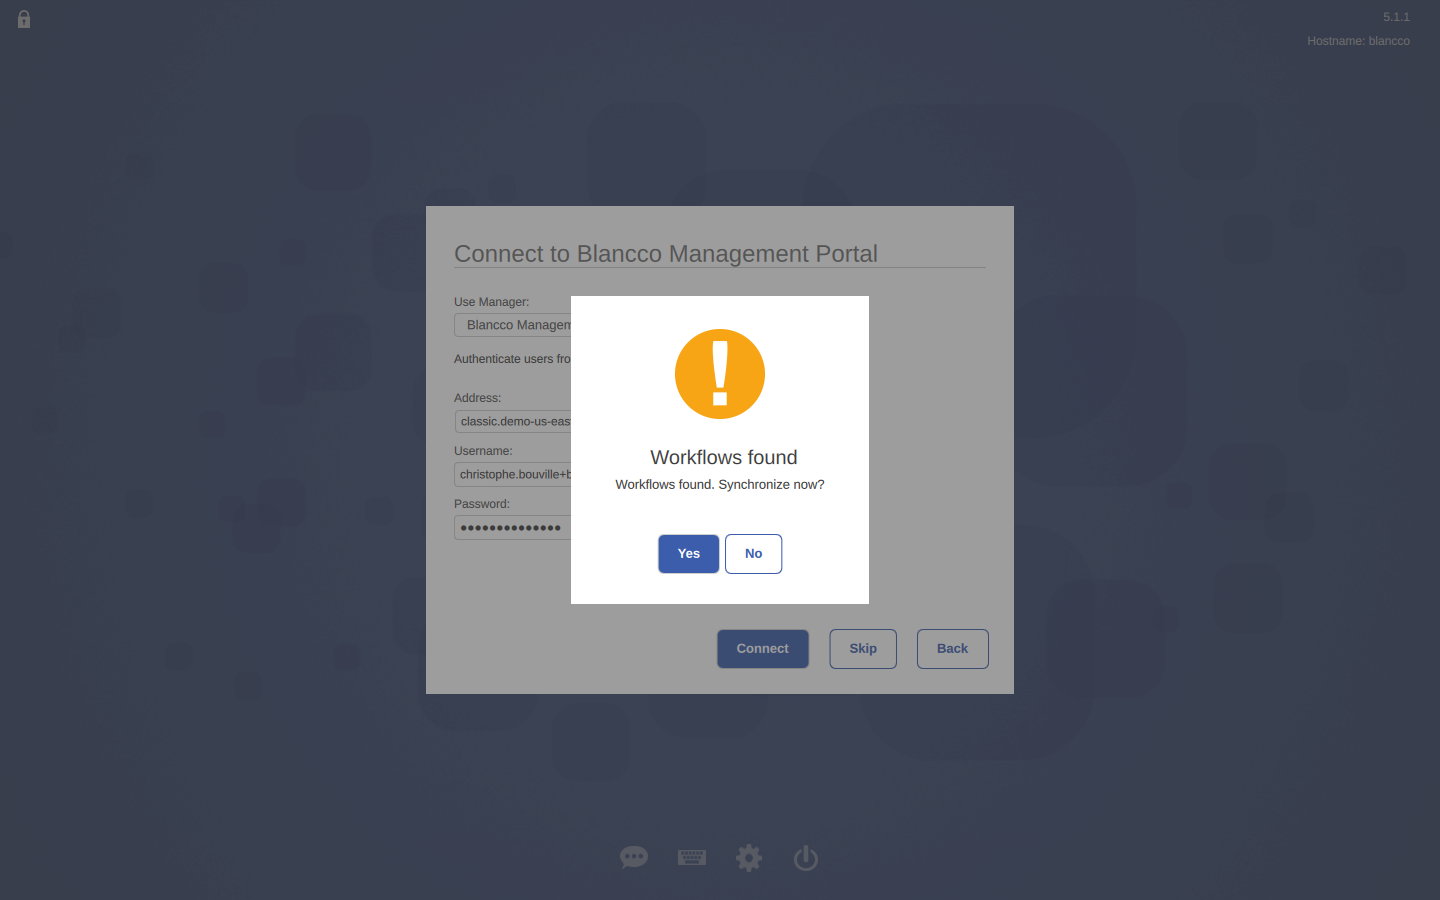
After checking for the credentials, the program will check for any existing workflows in BMP. You can choose whether to synchronize them or not.
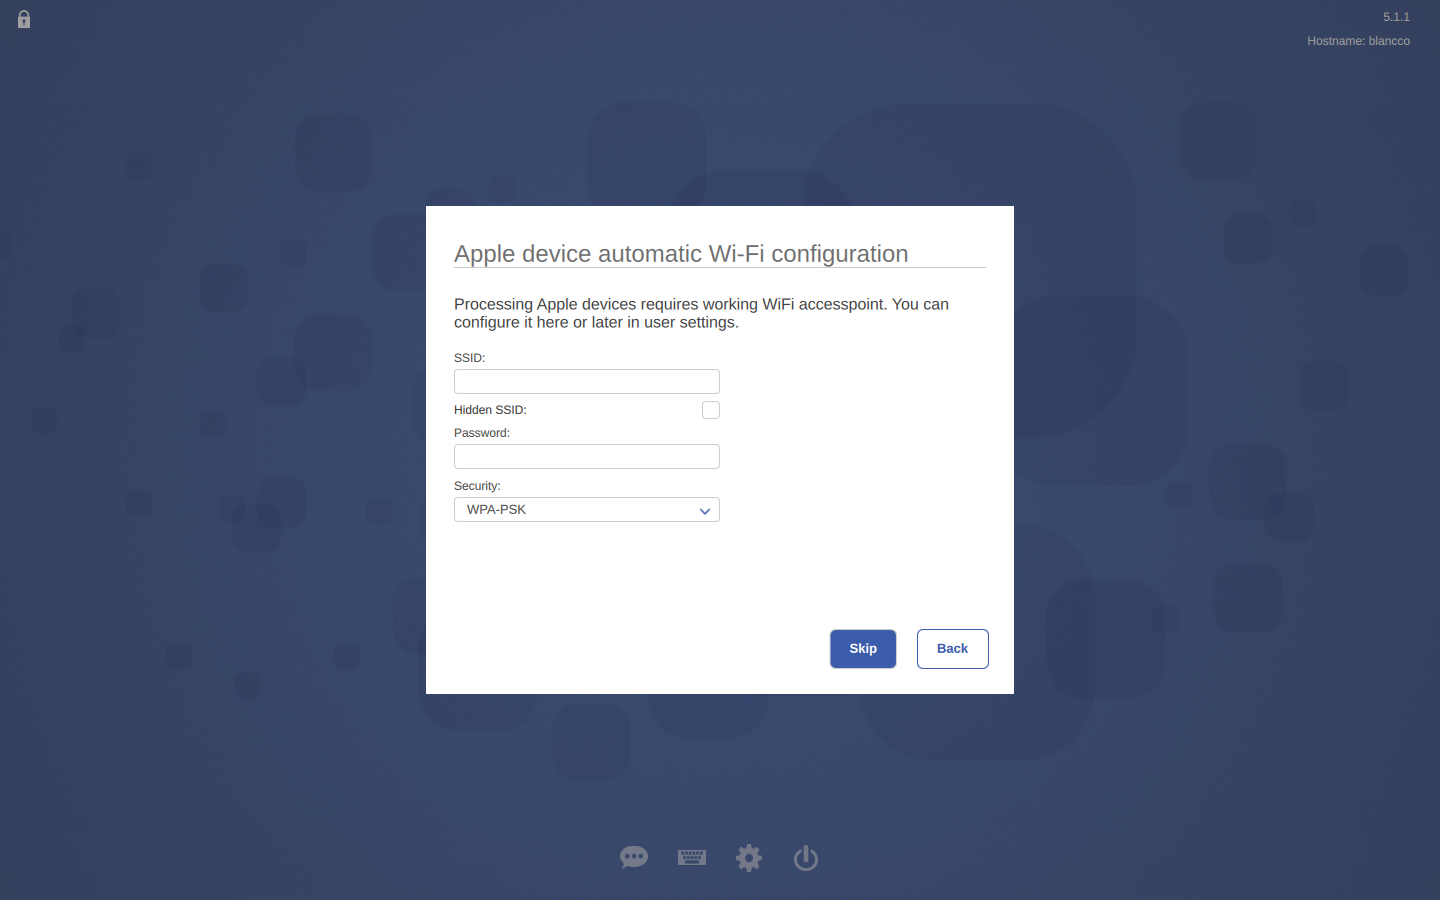
- Last step is configuring the Wi-Fi settings. For processing Apple devices, Wi-Fi is required.
- After entering the Wi-Fi details, the setup is complete. If you need to bring up the Wizard again, hold Ctrl + Shift when booting up BMDE.